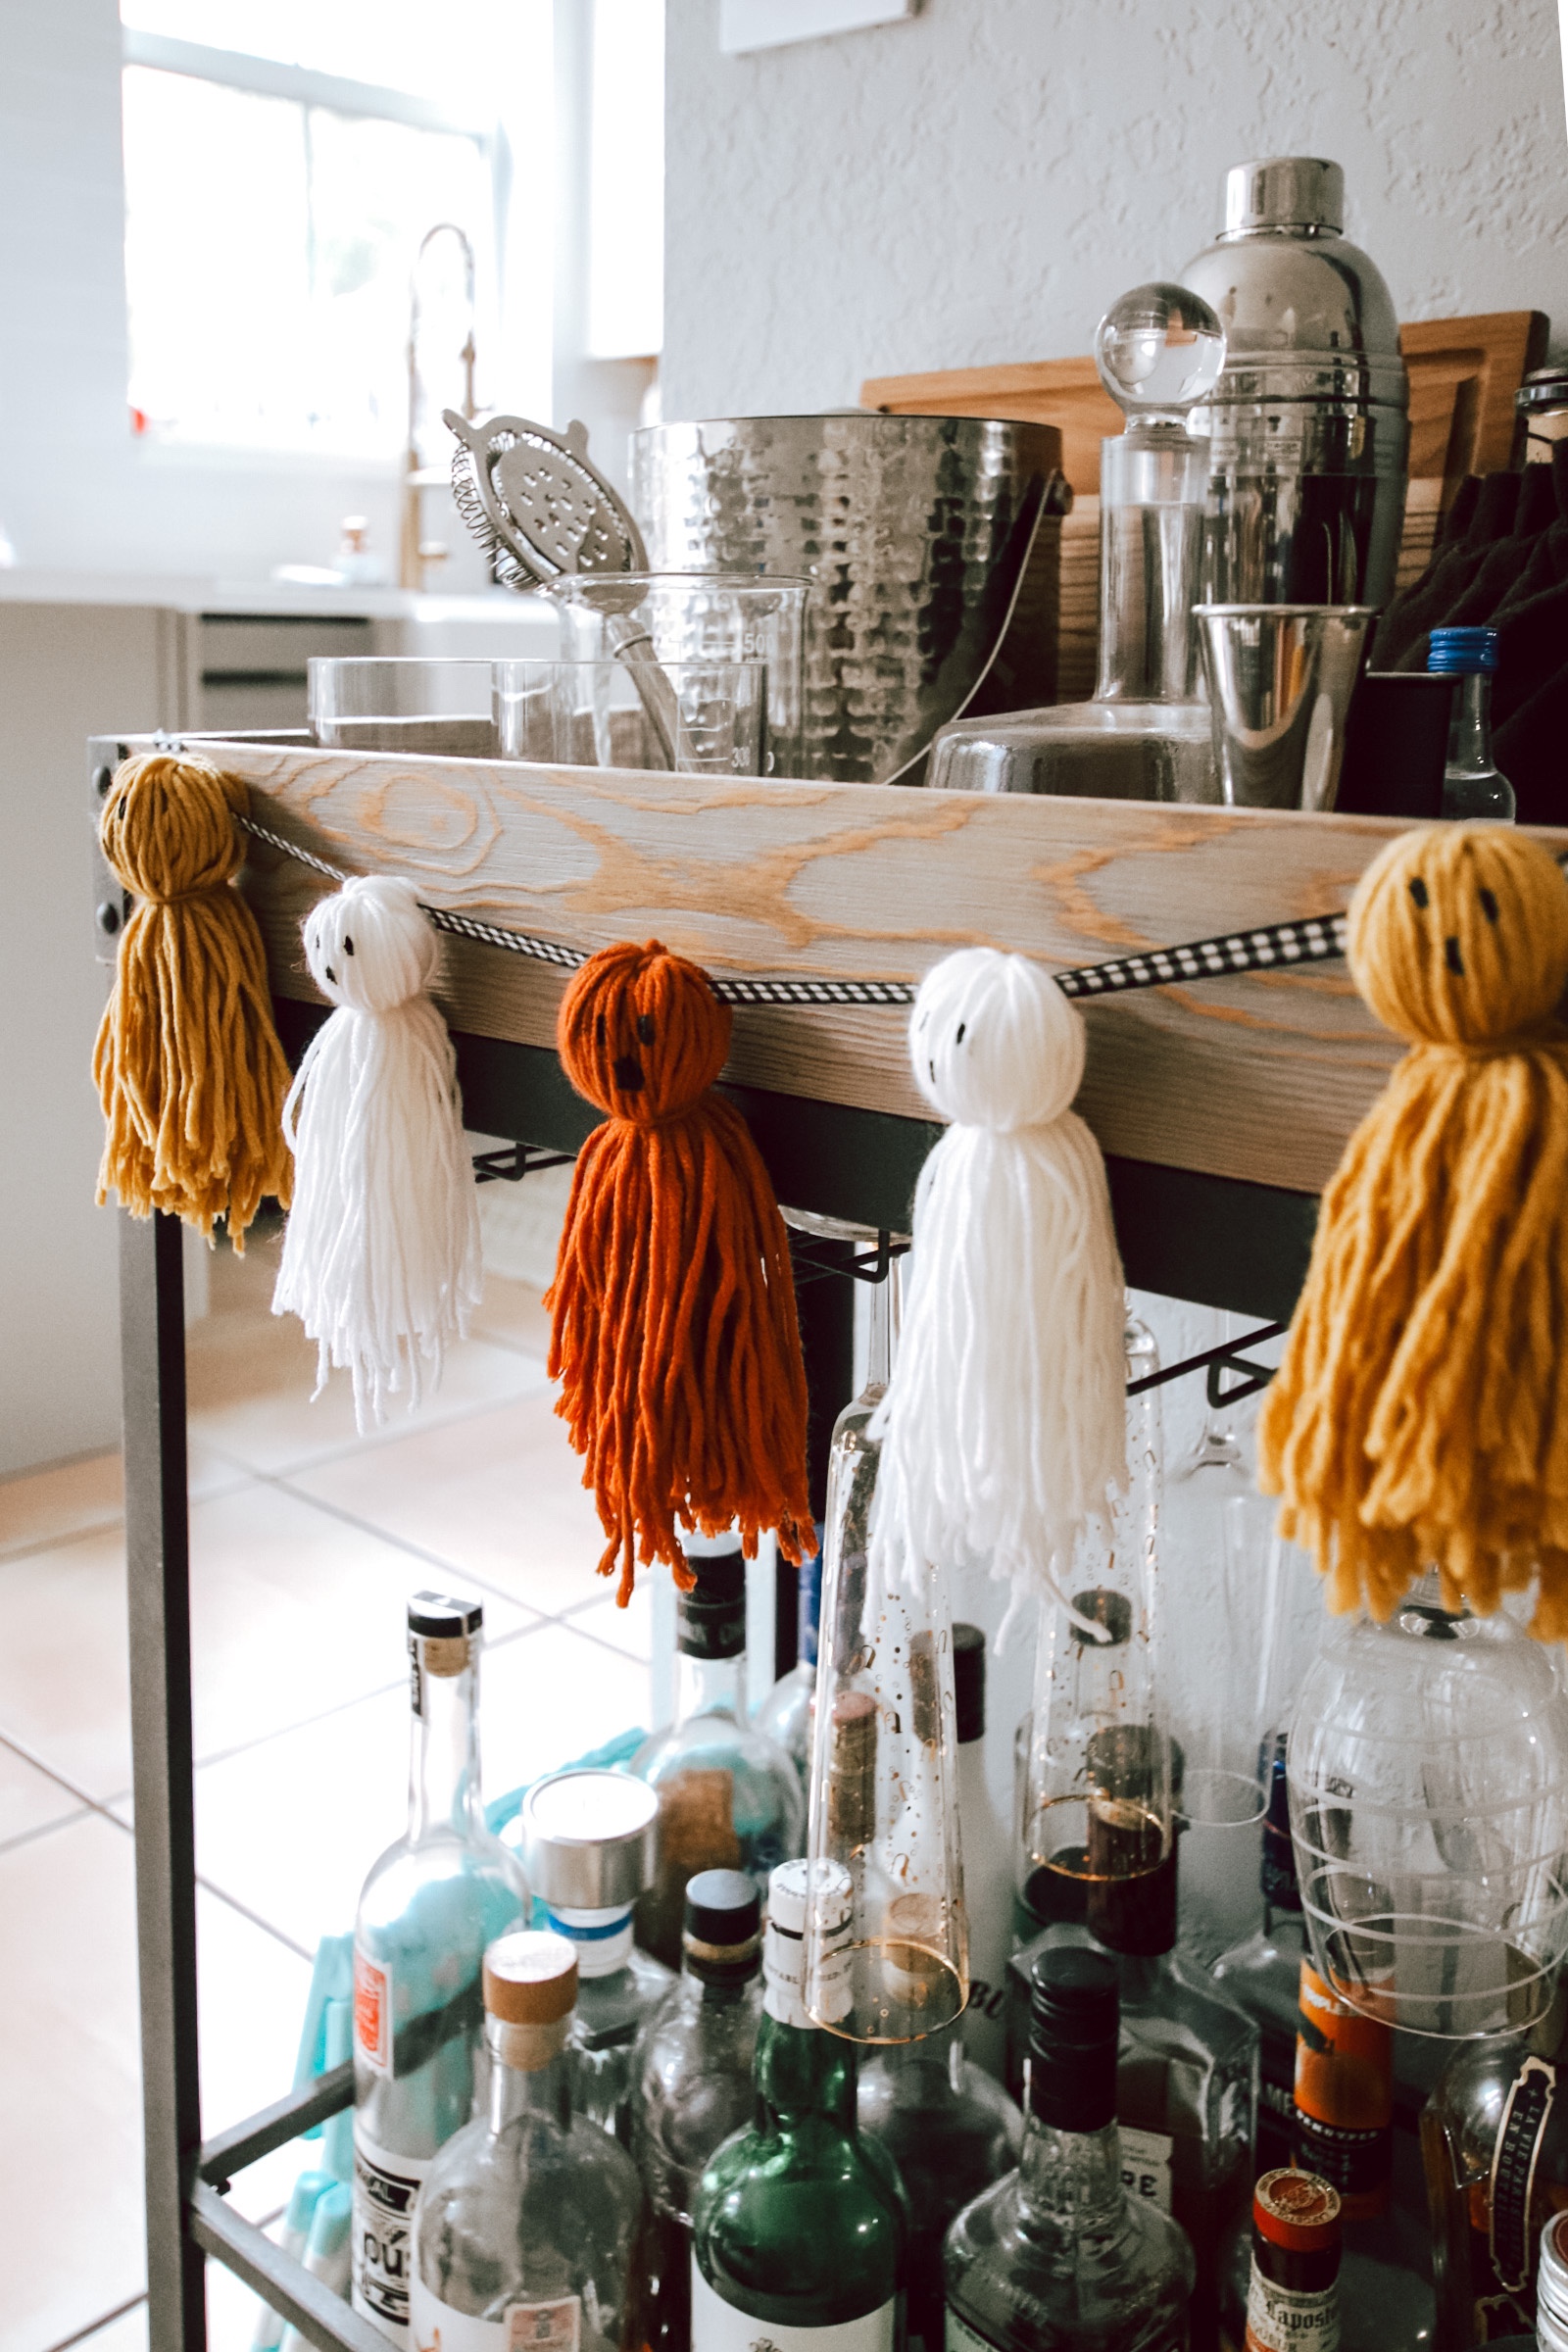
It’s my favorite time of year and with the way 2020 has played out, I will gladly welcome any distraction. Holiday decorating is doing just that! Thomas absolutely loved how soft these were and at one point, before I had finished making them, I caught him cuddling with them, haha! Today I’m sharing a little tutorial on how I made this fun little ghost garland! Also, be sure to check out how else we’ve decorated for Fall this year, below!
Ghost Garland Tutorial
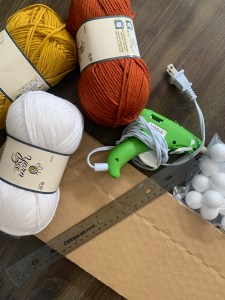
Supplies needed:
- Preferred yarn
- Hot glue gun
- Foam balls (the smallest you can find, this will vary from store to store, but mine were a little smaller than an inch)
- Scissors
- Ruler
- Black paint & brush
- Ribbon to hang ghosts on
Steps:
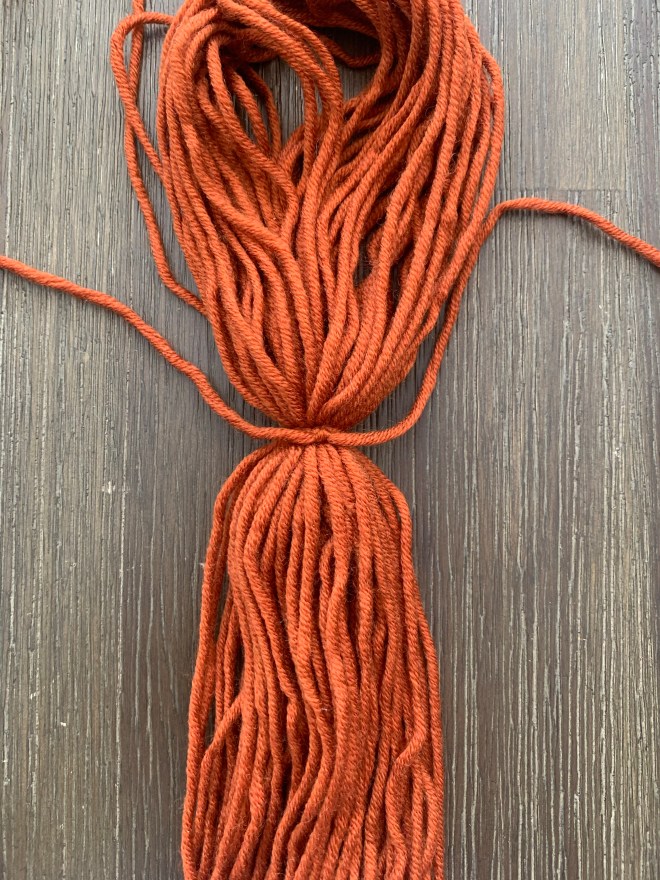
- Wrap your yarn around some type of surface measuring 12 inches (I used a piece of cardboard) 30 times.
- Carefully slide yarn off surface and cut a small string separate from to wrap around your loops in the center. Approximately at the 6 inch mark you will wrap the small string and tie a TIGHT knot.
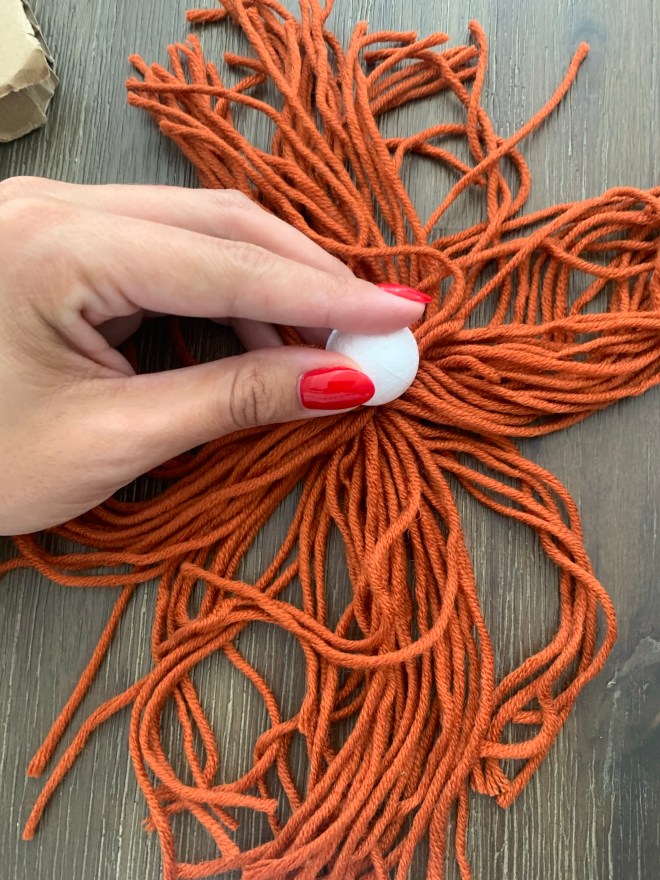
- Take your scissors and cut the loops, so that none of the yarn is connected, but hangs free.
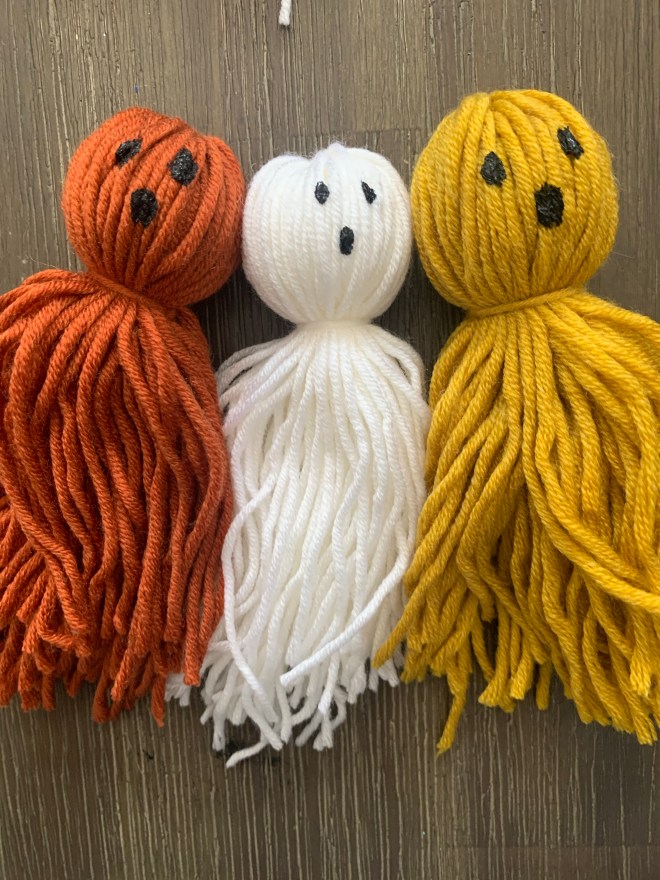
- Spread out all the yarn, like you see in the pictures below and glue foam ball in the center.
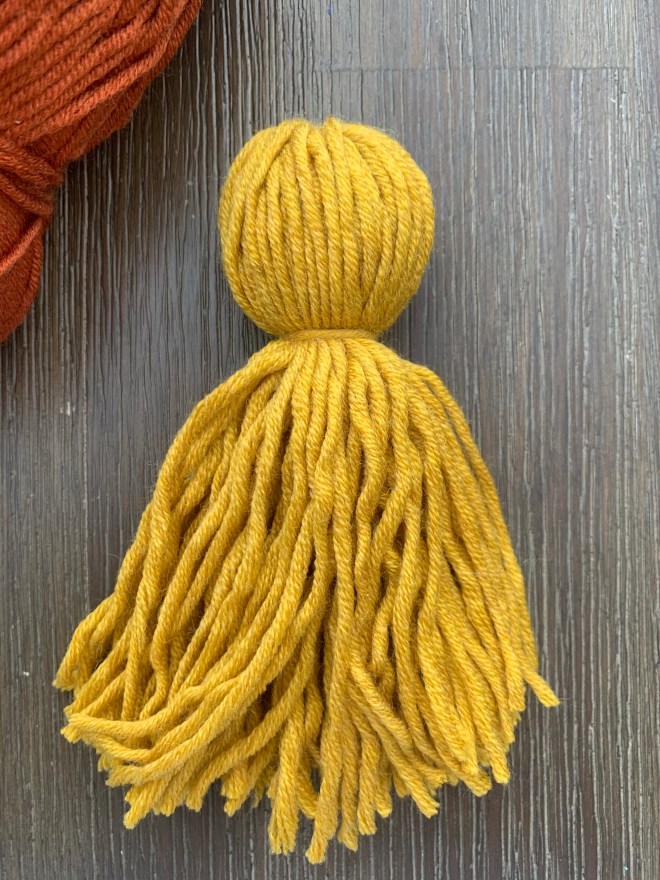
- Gather yarn around the foam ball to create the ghost’s “head”, cut another small string to match your ghost’s yarn color and tie directly underneath foam ball and tightly secure.
- Paint with on ghosts eyes and mouth.
- String ghosts on preferred string.


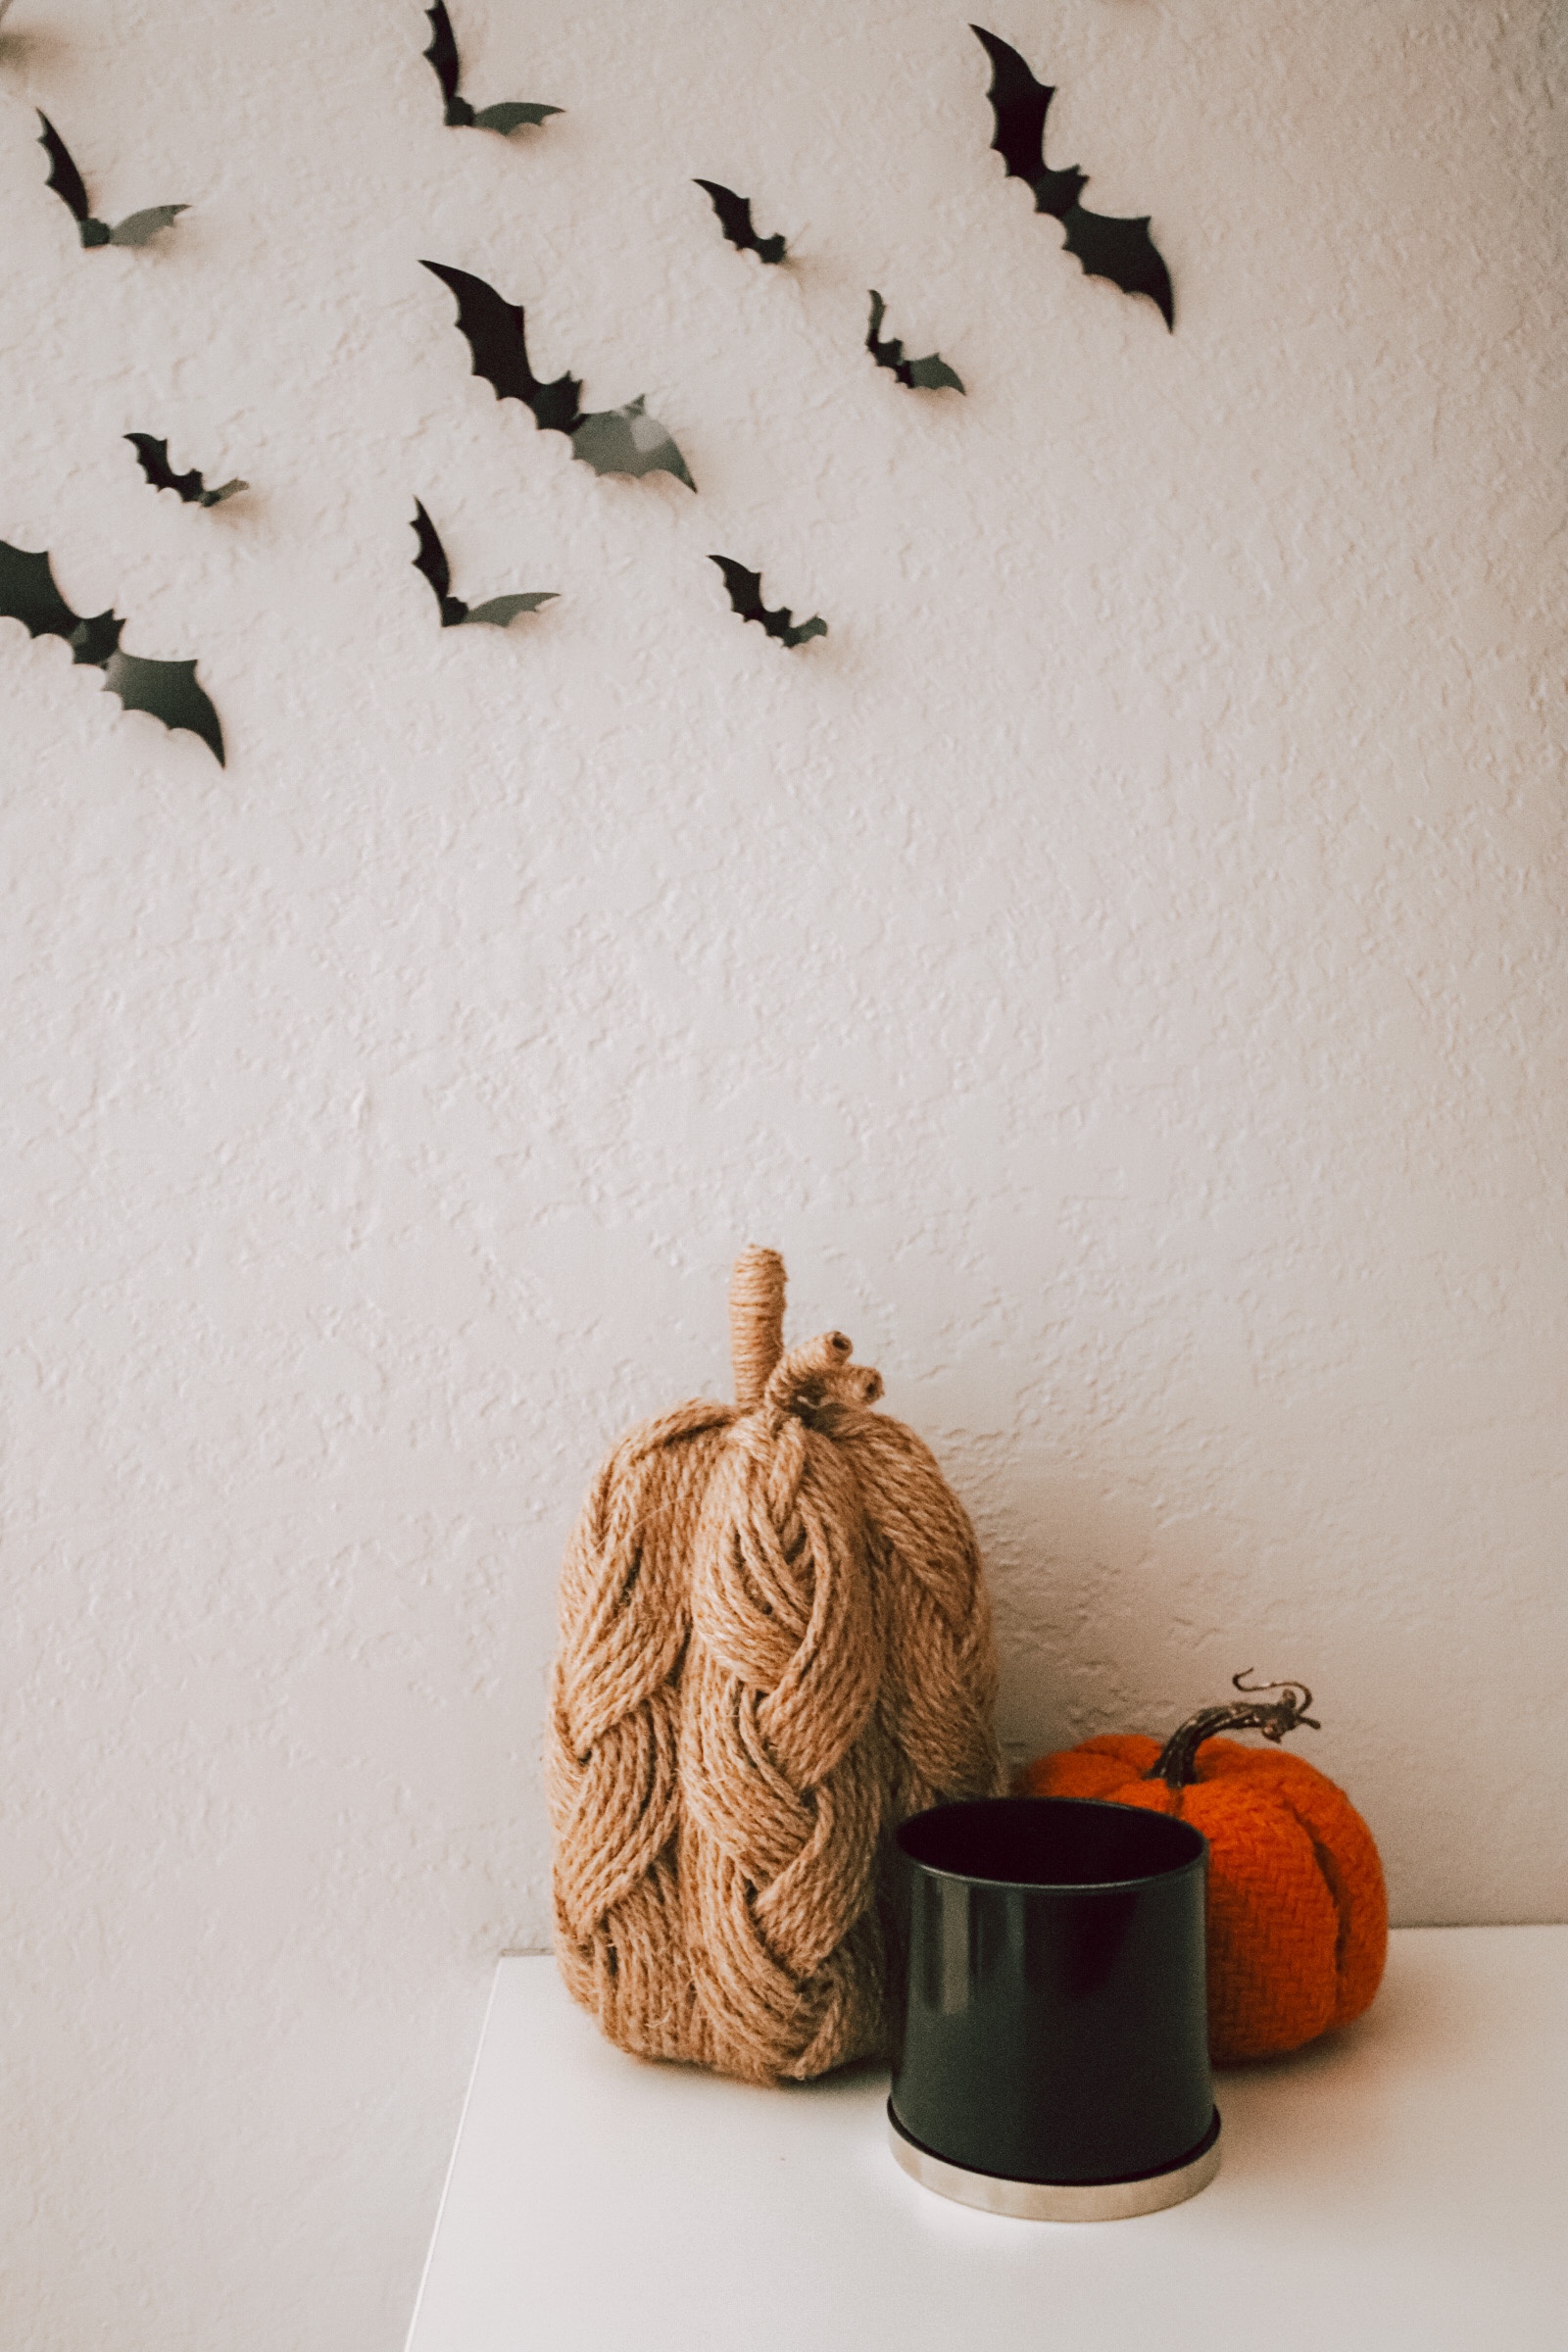
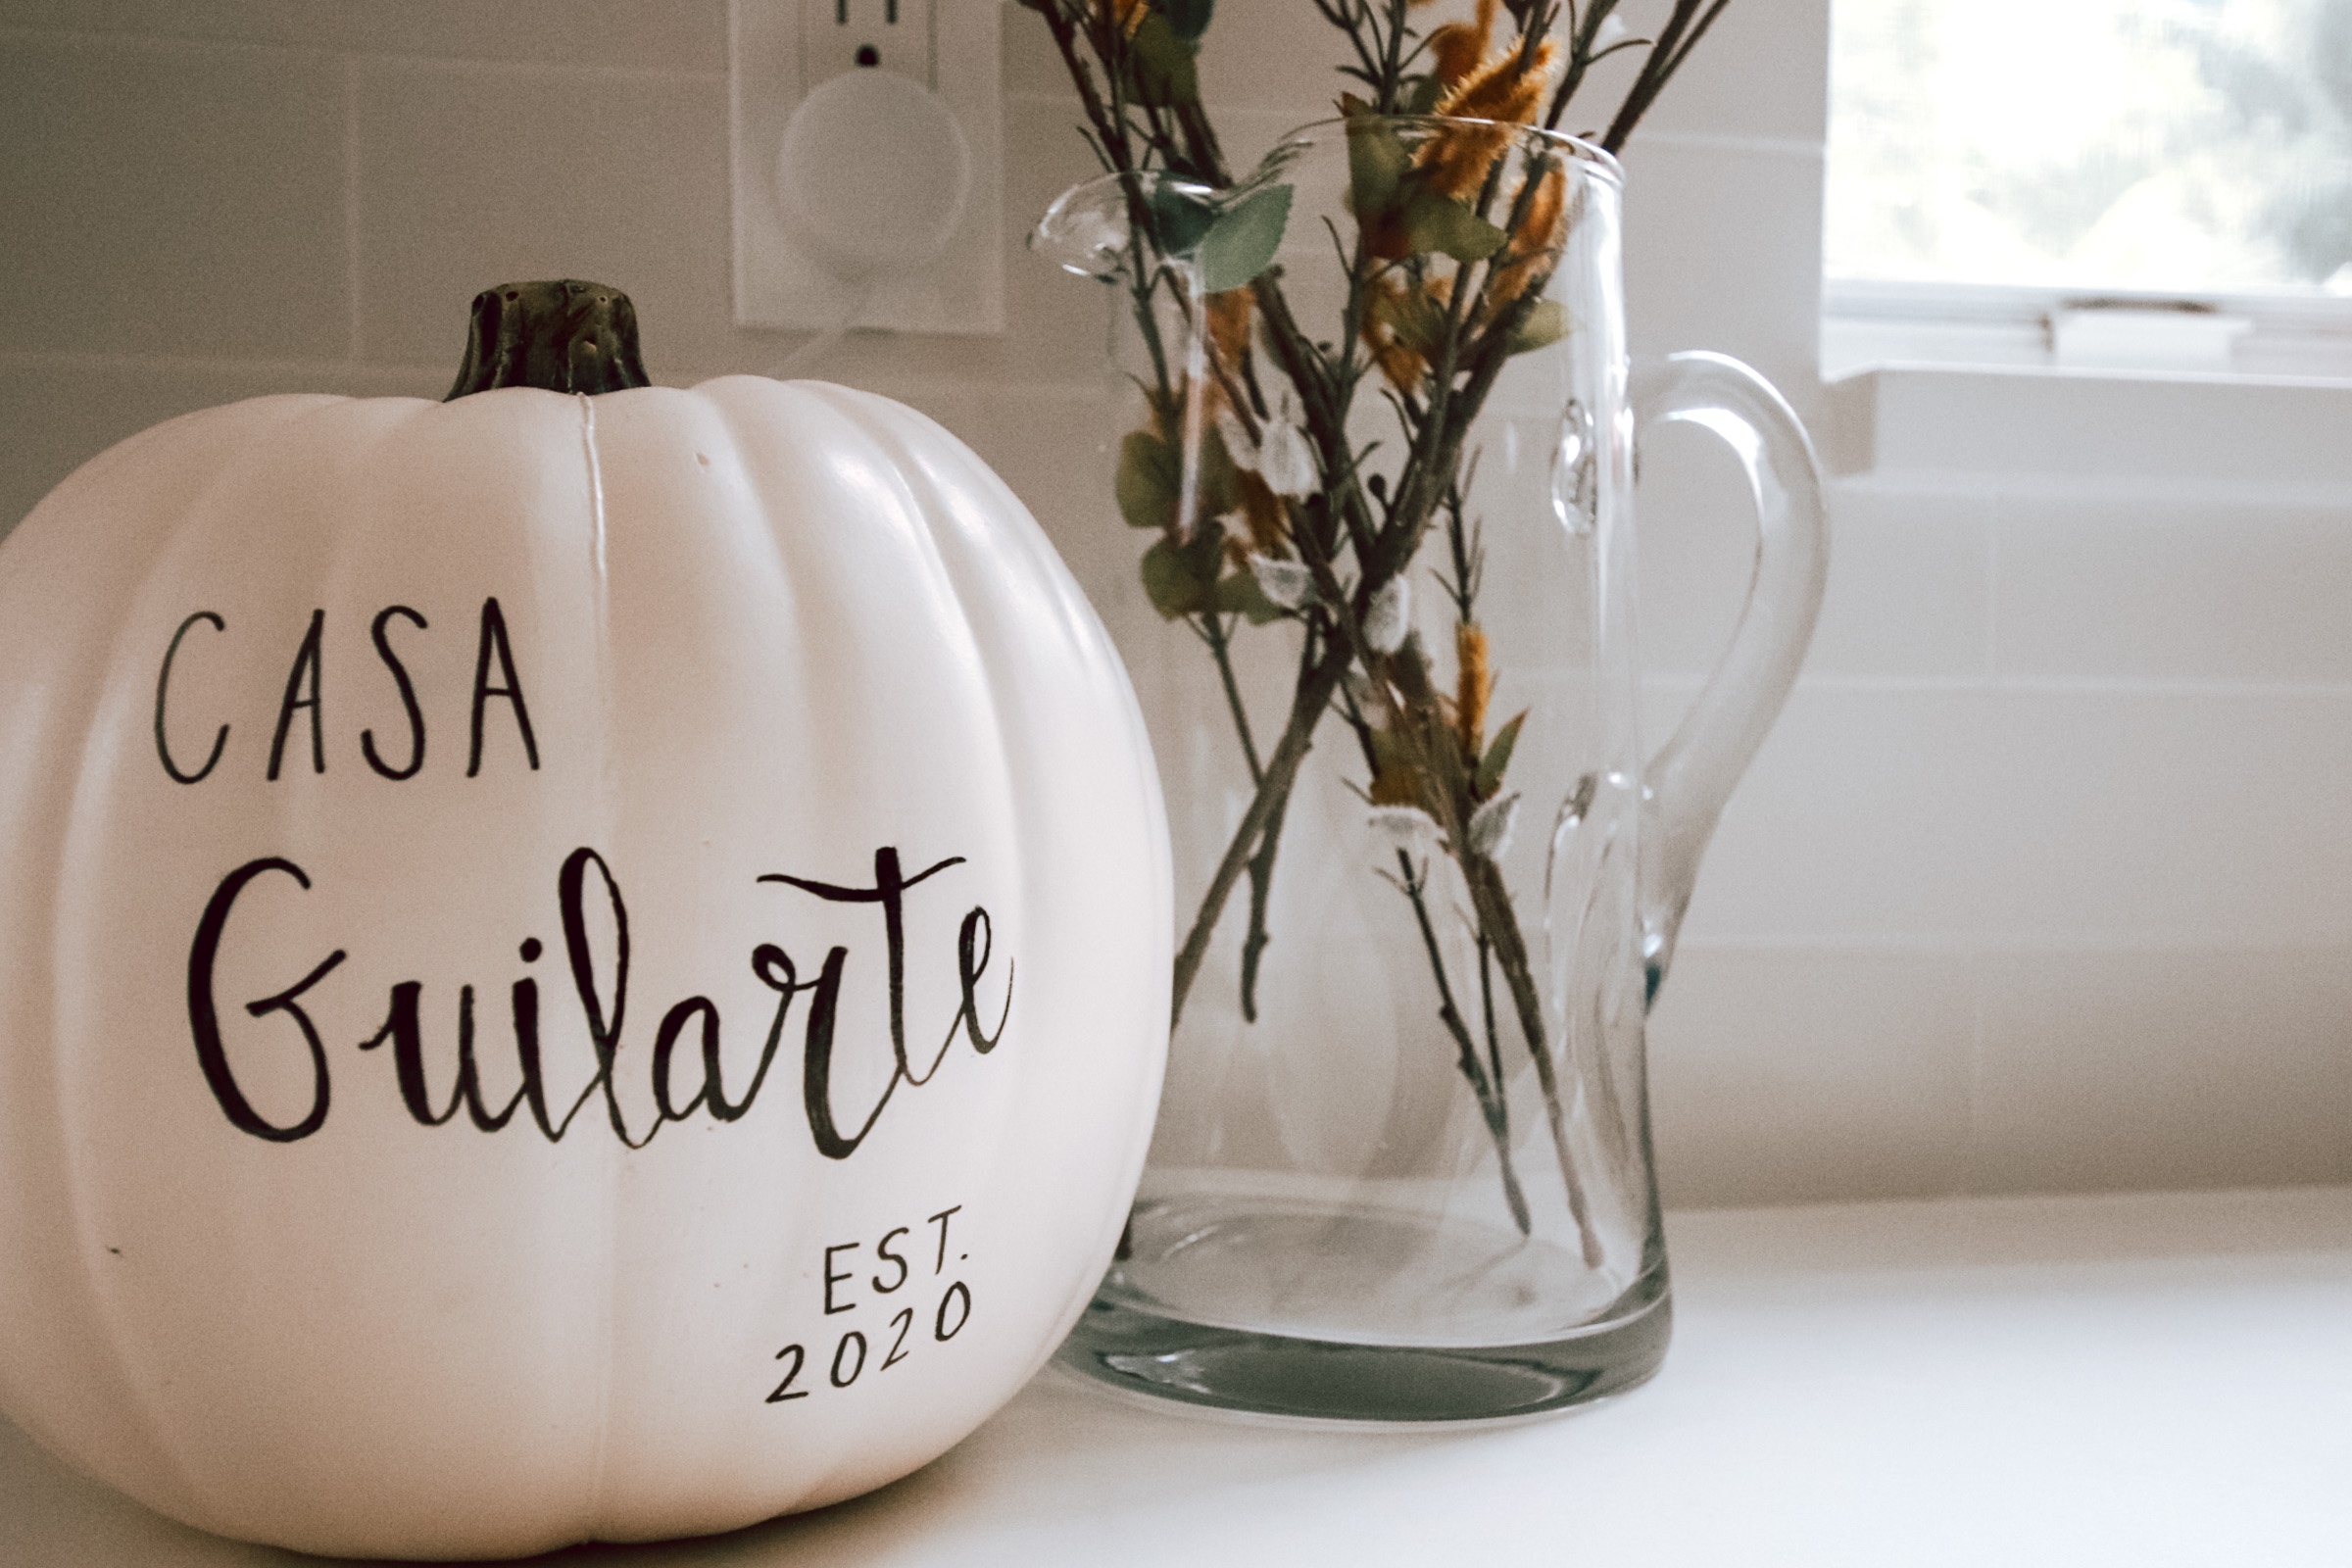
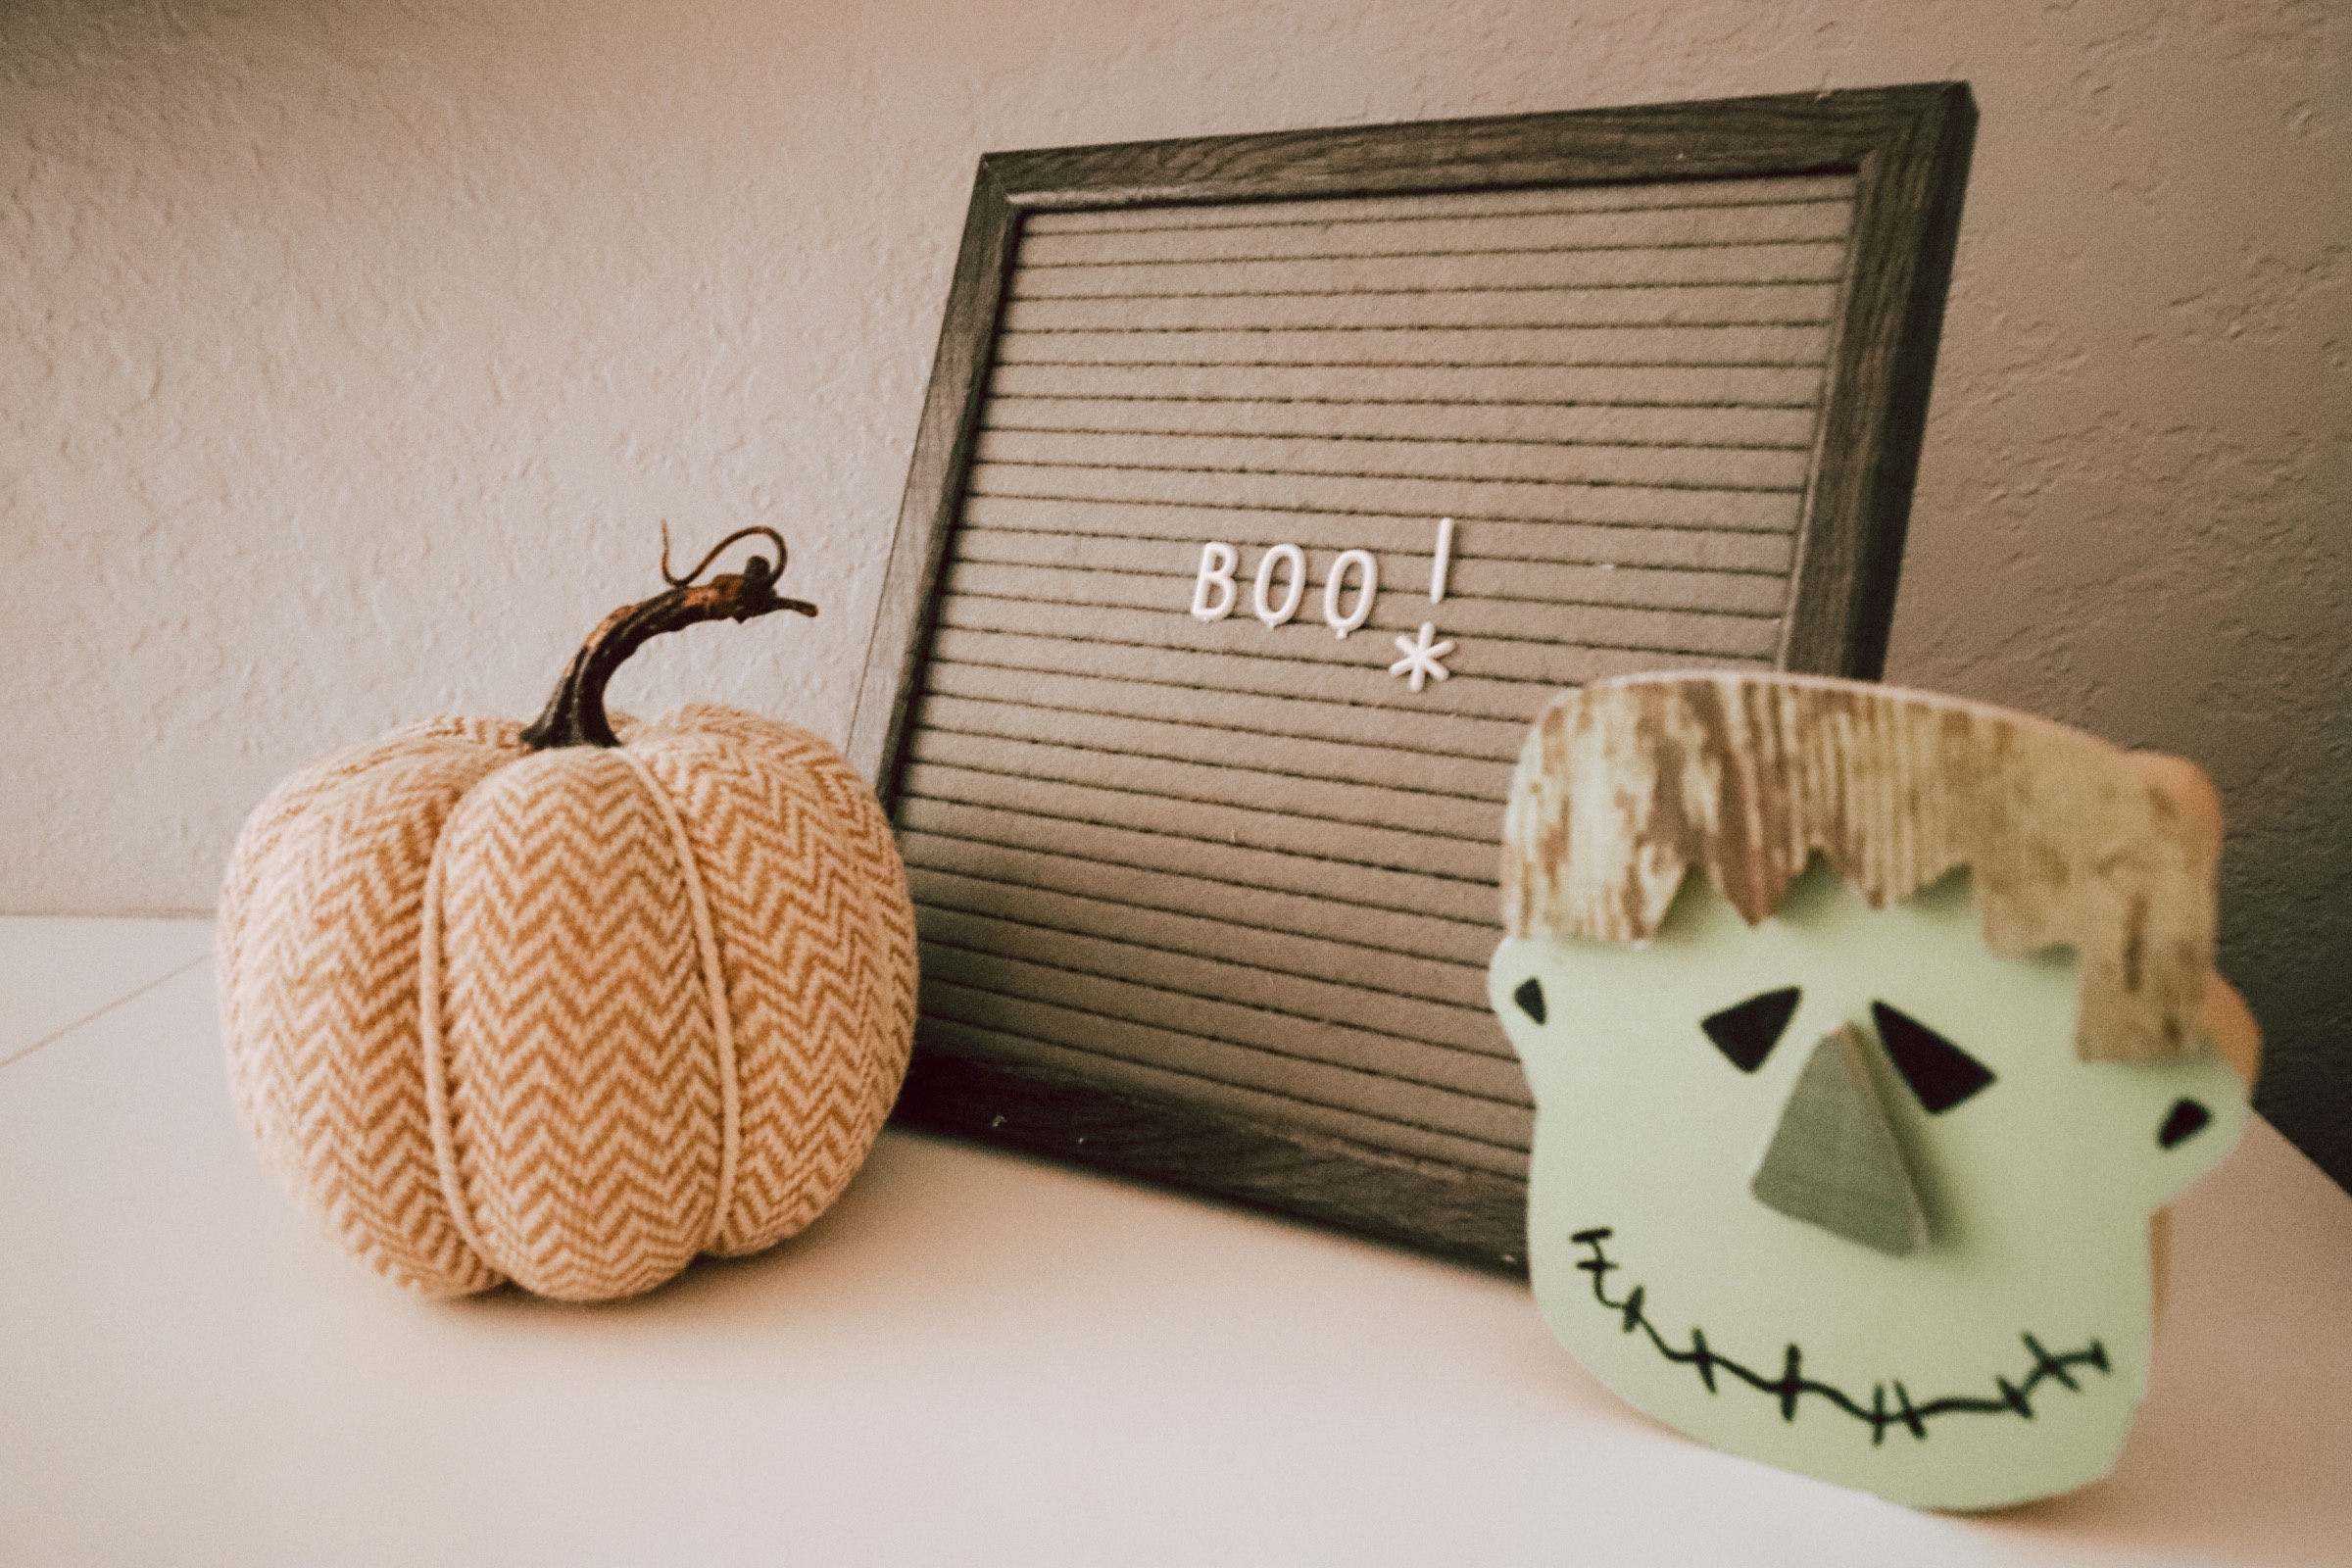
See below how I incorporated these ghosts into my Fall decor!