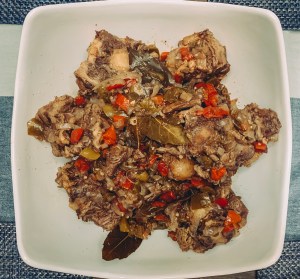
For quite a few years of my childhood, I went to sleep away camp for a month. Every year before leaving, I would ask my mom to host “the last supper”, complete with one of my favorite homemade Cuban dishes and family by my side to send me off. I called this dinner, the last supper, since you know, they were shipping me off to a 5 -star-sleep-away-camp, in Maine, complete with children of A-list celebrities, and lobster dinners. SO ROUGH, I KNOW. But, the one thing Camp Laurel South didn’t have was Rabo. Growing up, and to this day Rabo, ox tail, is one of my favorite Cuban dishes that my mom used to make.
These days, most “ox tails” you find at your local grocery store are more likely to be beef tails as opposed to ox tails. As you may know from my Instagram stories as of lately, I’ve been experimenting quite a bit with some of my favorite Cuban dishes. Whether it be just mastering the flavors and recipes, or coming up with healthier versions, it’s whats dominating our kitchen these days. Last week at the grocery store I came across some great cuts of “ox tails” and decided it was time to experiment.
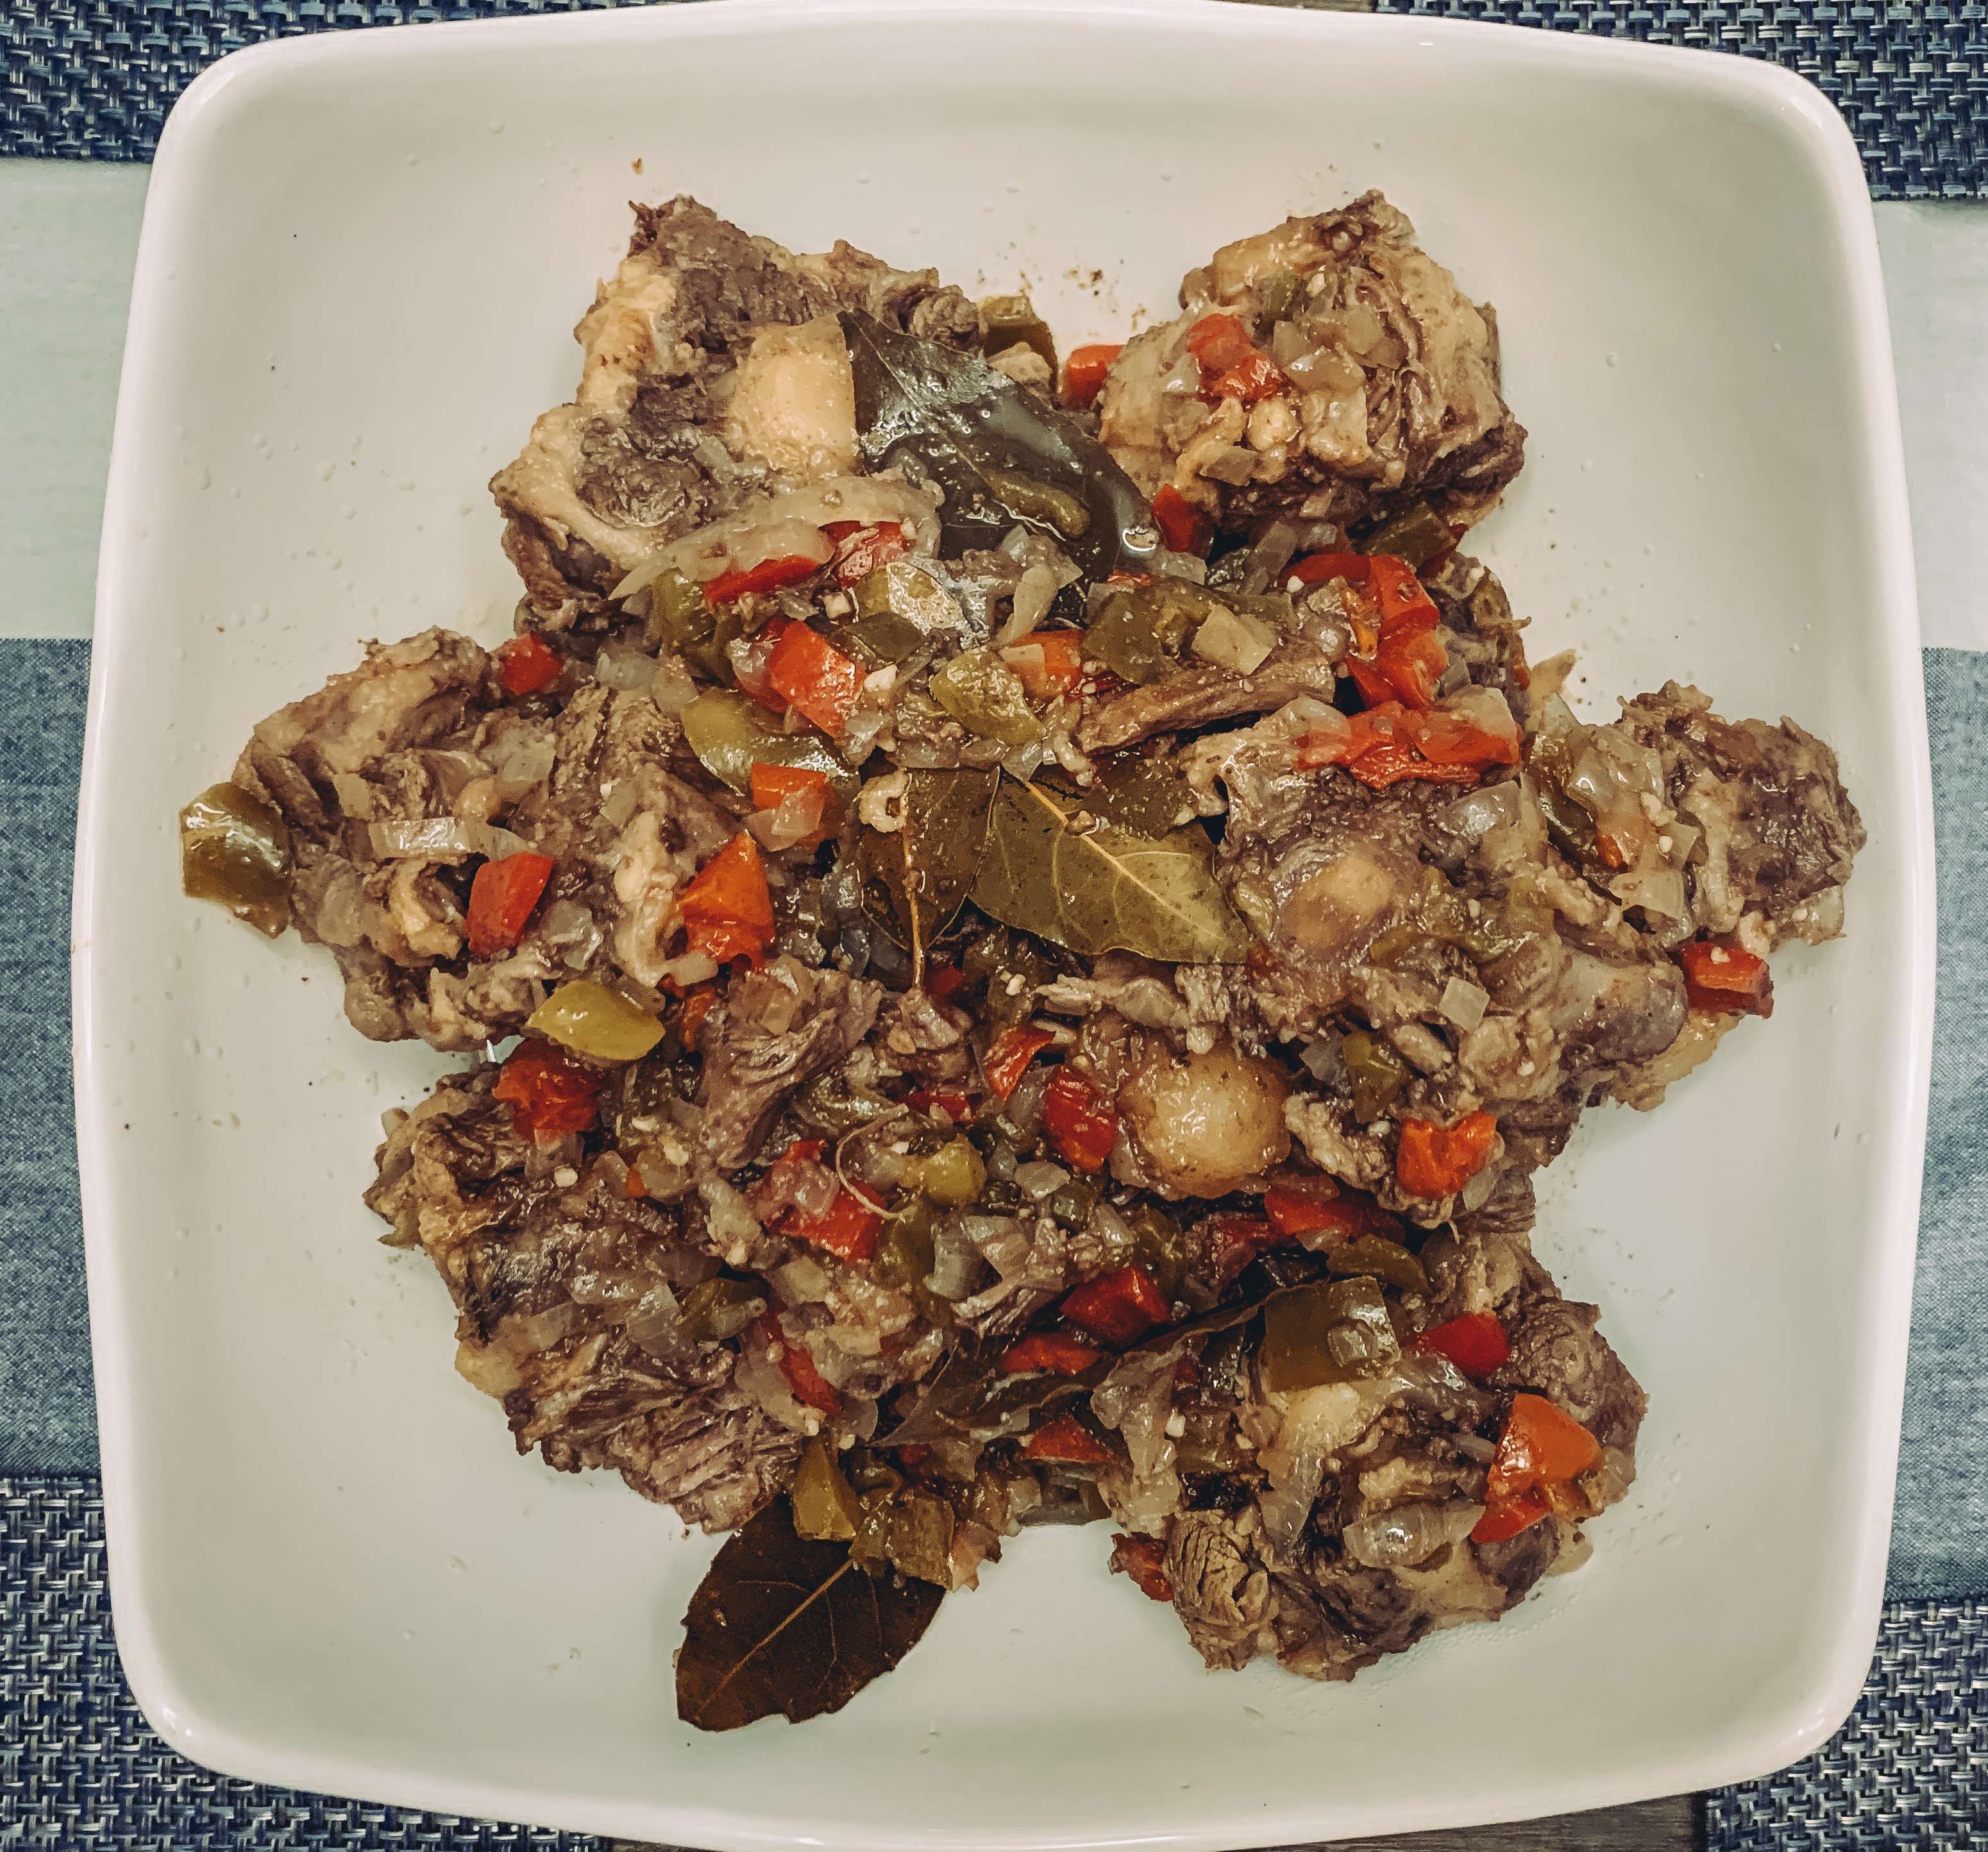
Disclaimer: when I first made this recipe last week for just Joel, Thomas and I, I did it in the instant pot and the meat fell right off the bone, but I needed more seasoning. When I made the Rabo again this past weekend for my entire family, I used my slow cooker since I was cooking significantly more ox tail. The flavor was definitely there this time, but the tenderness wasn’t the same, but read more about this in my notes below the recipe!
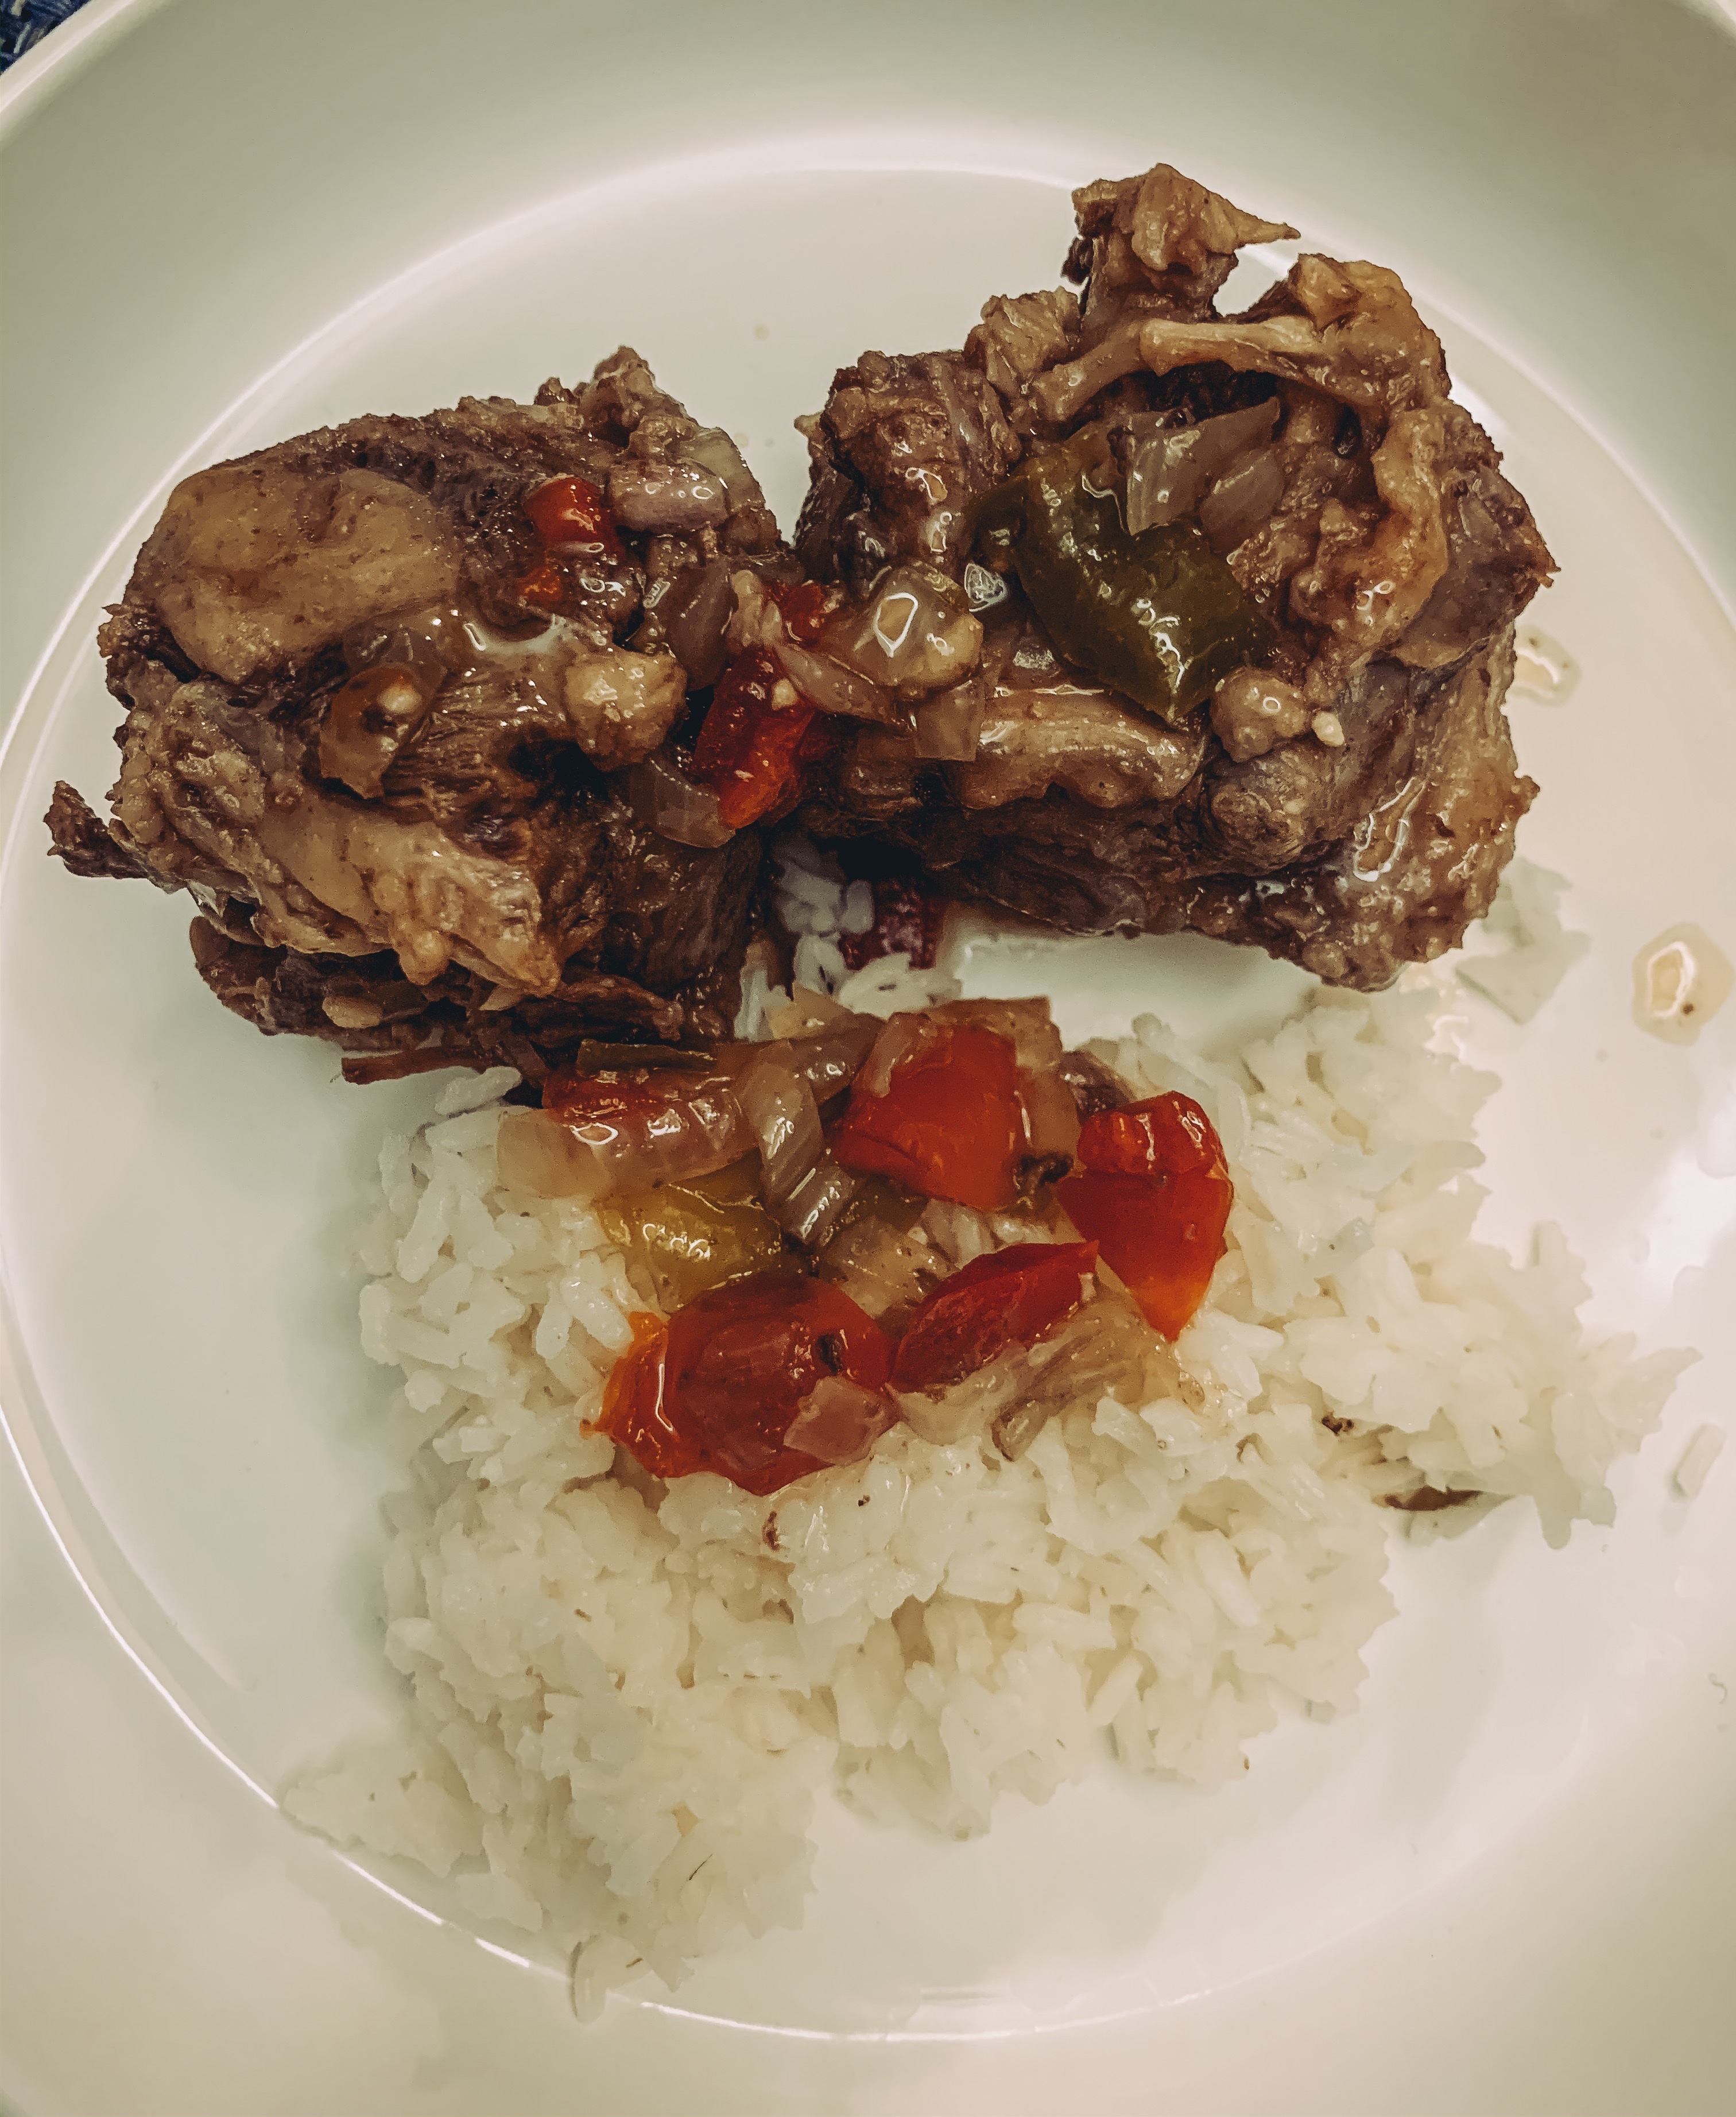
I’m sharing with you guys two versions of this recipe, a slow cooker version and Instant Pot version. This recipe is best served with white rice and taking some of the cooking liquid and drizzling that over your rice, excuse me as I drool just thinking about it! Let me know which version you otry and share your pictures!

Ingredients & Recipe
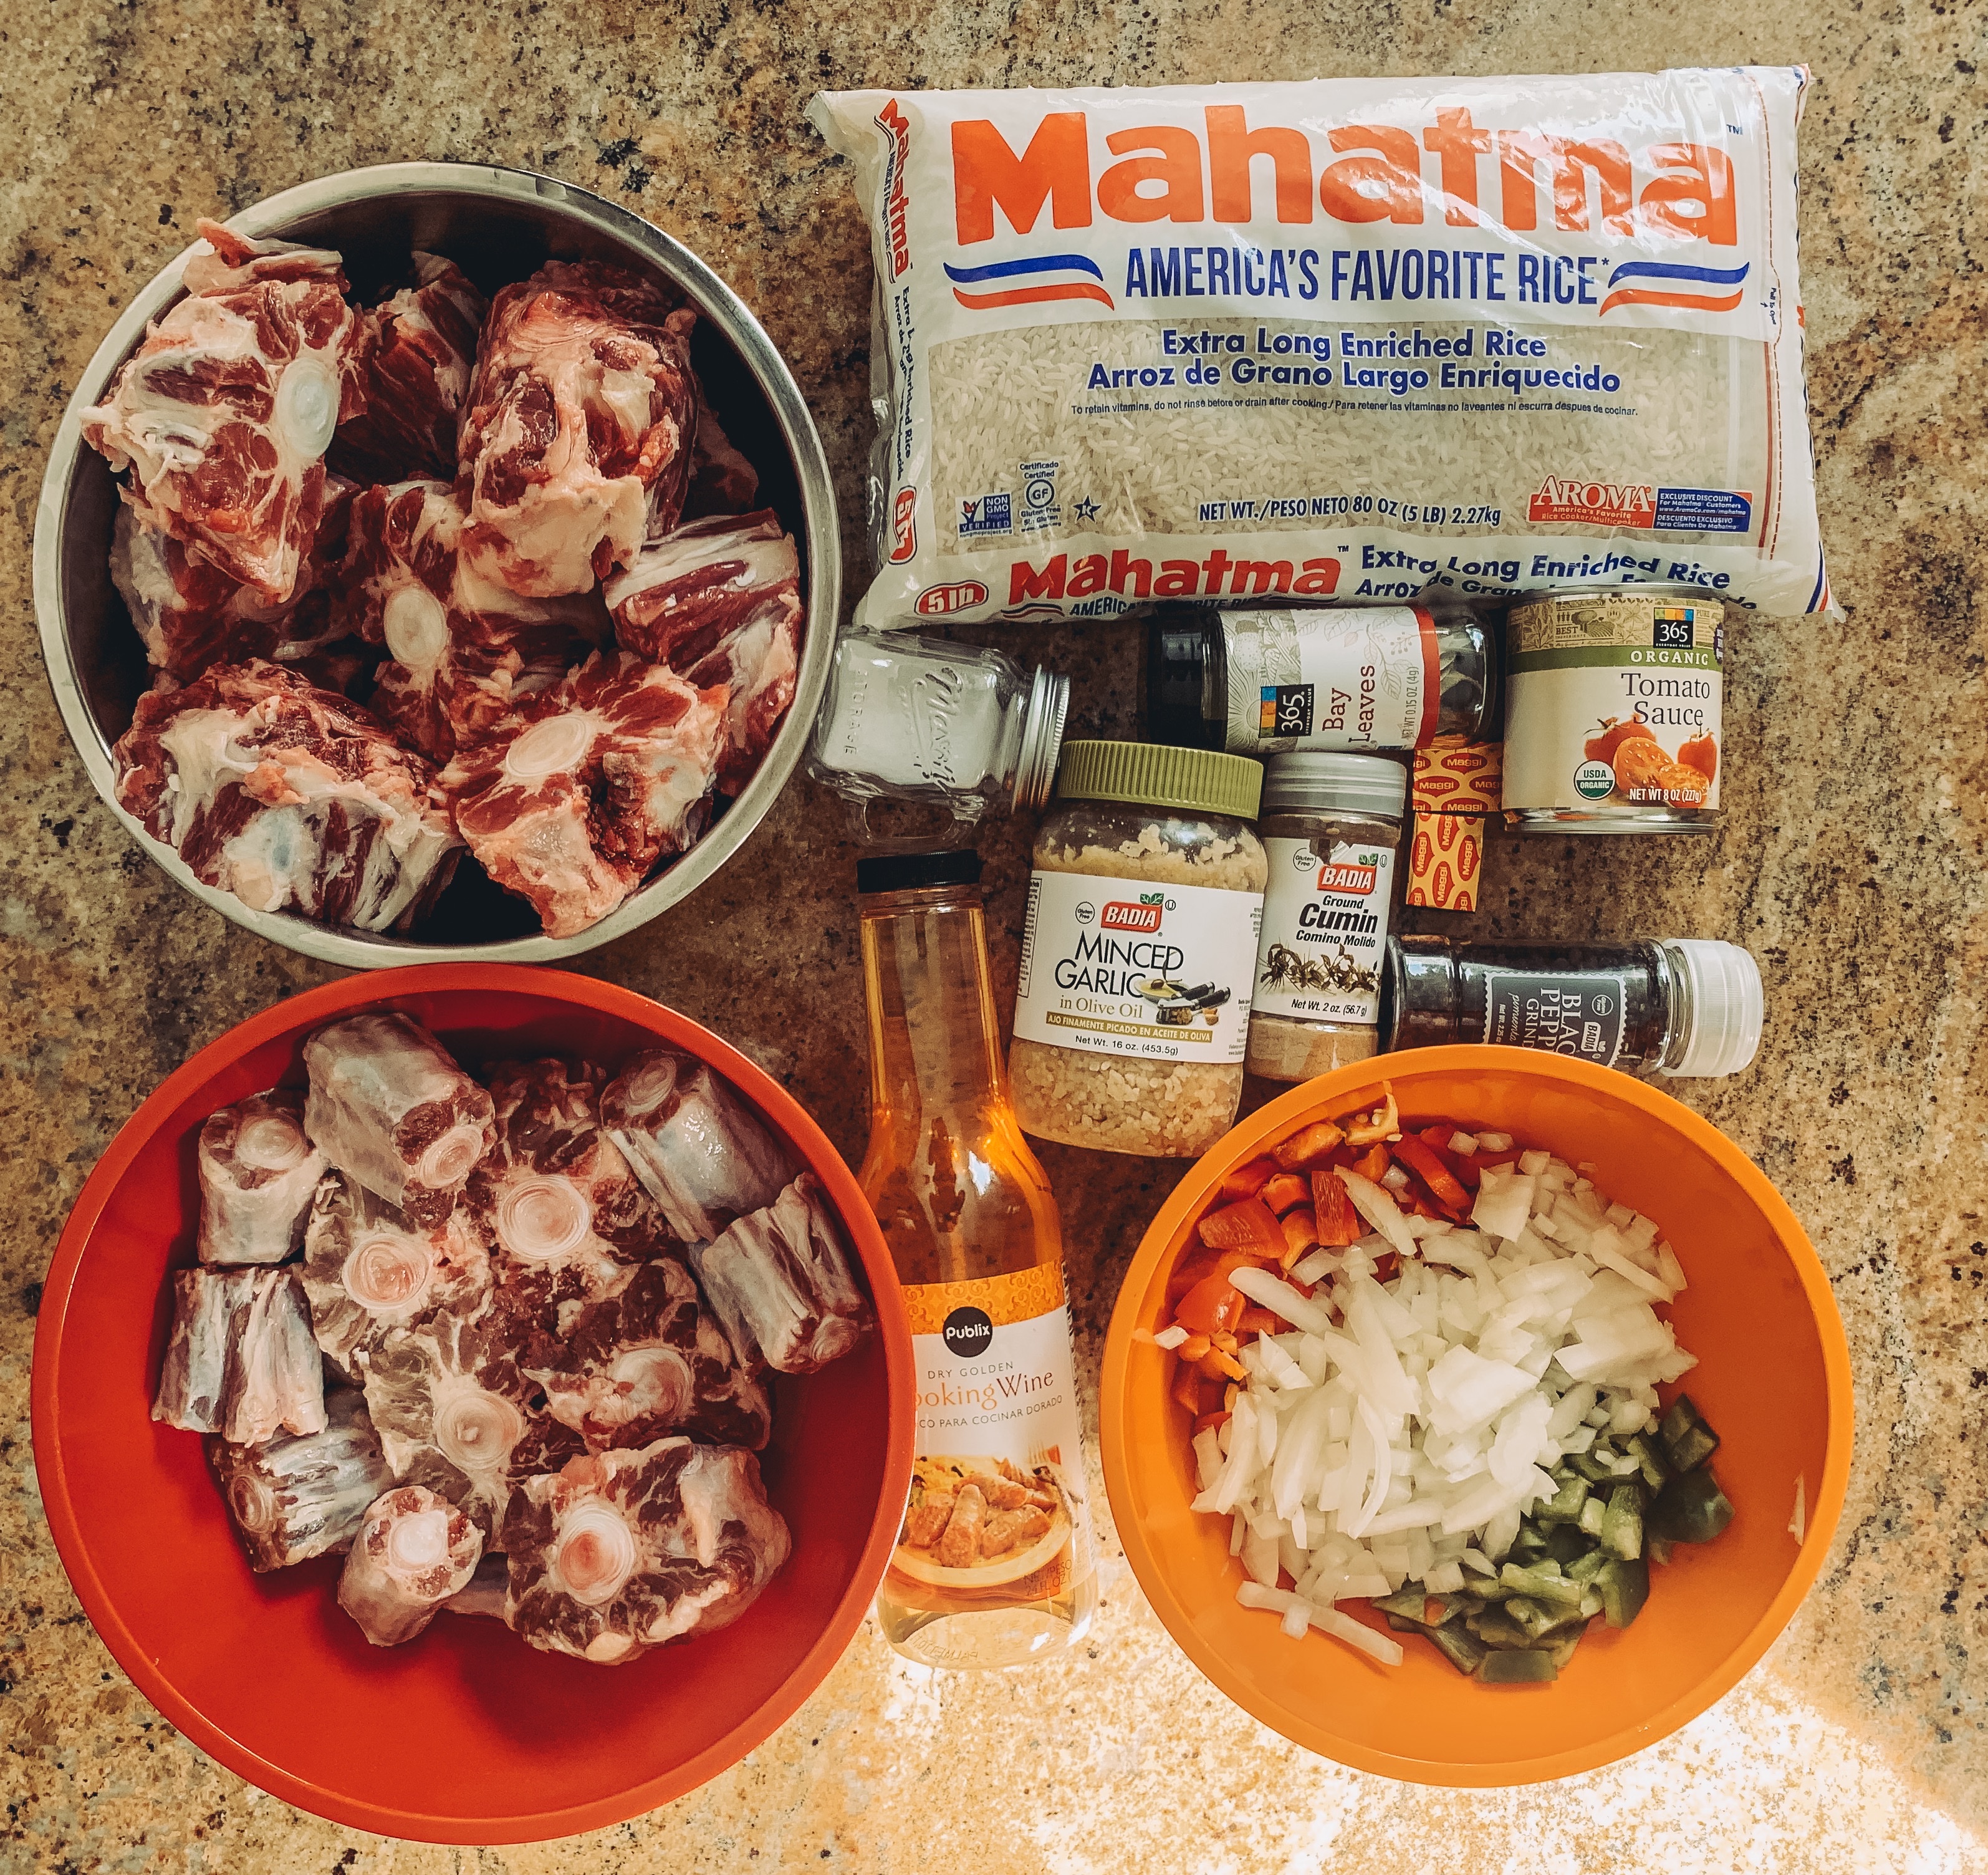
Ingredients:
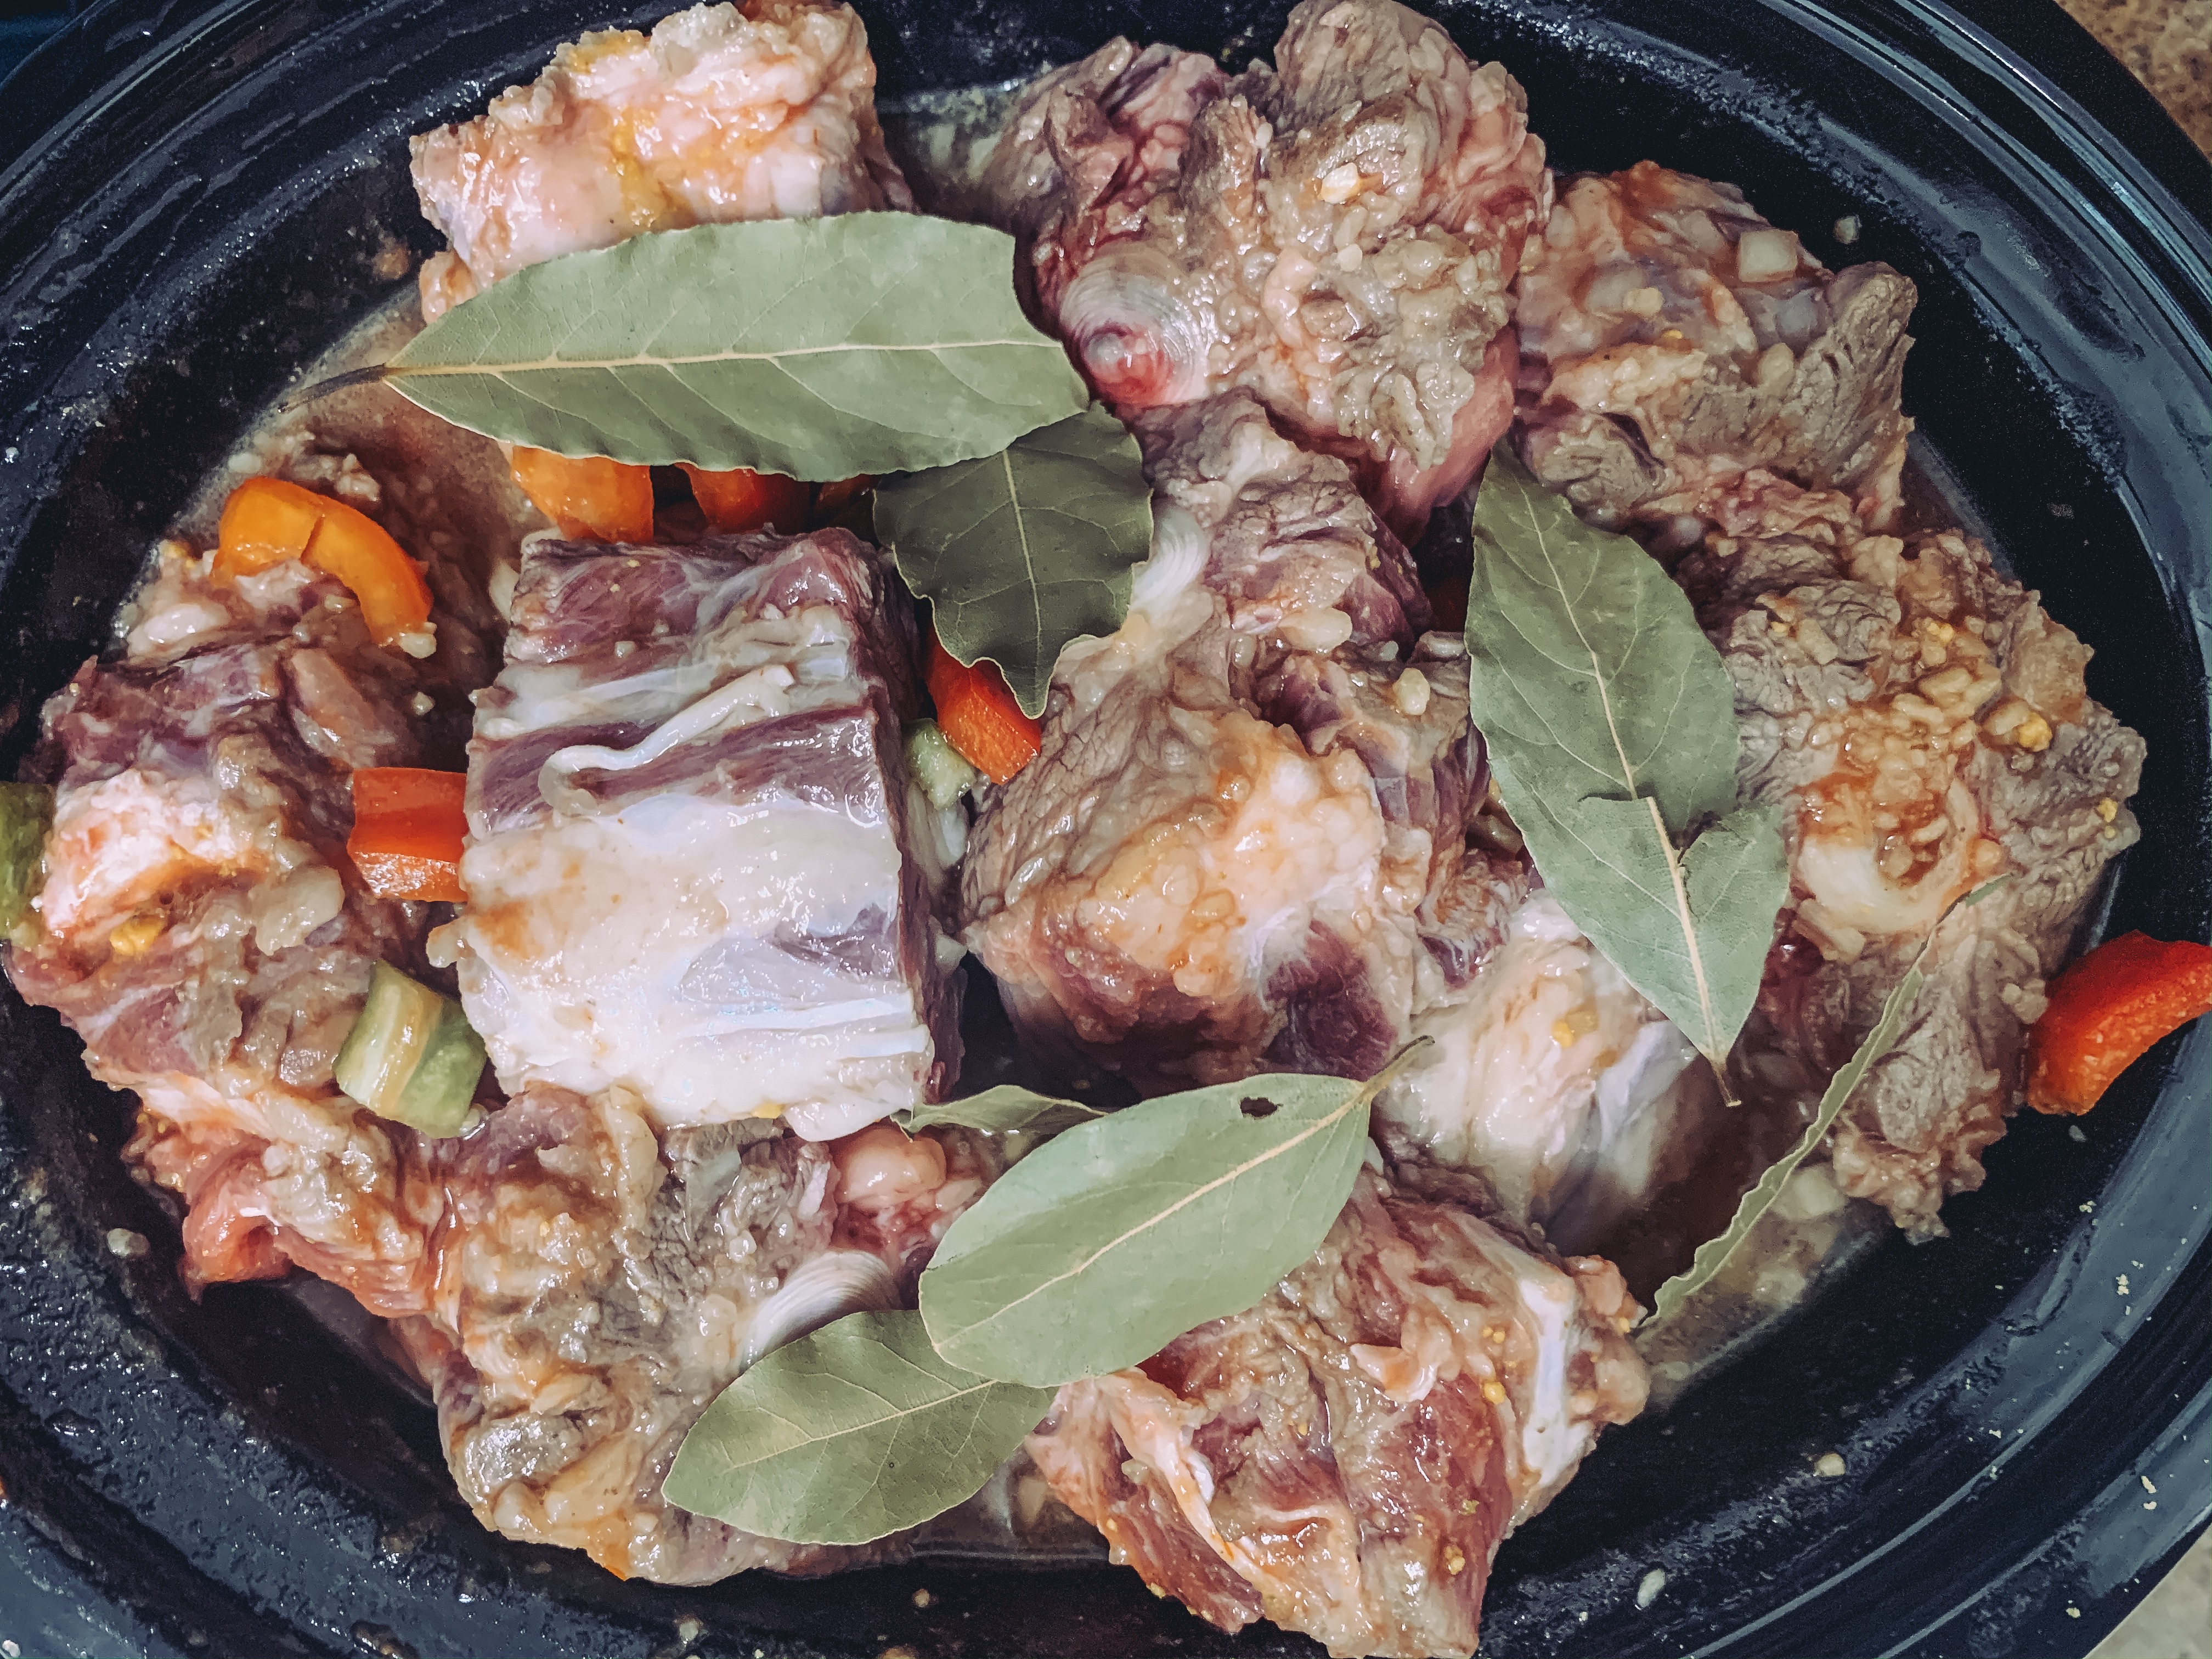
- 3 lbs ox tails, fat trimmed (you will have to trim the fat yourself, but try choosing meatier and larger size bones, see in pictures above)
- Cumin*
- Salt*
- Pepper*
- 1 red pepper, diced
- 1 green pepper, diced
- 2 yellow onions, diced
- 1 cup cooking white wine
- 1 cup of of broth or 1 cup of water with bouillon cube
- 1 8 oz can of tomato sauce
- Minced garlic*
- Bay leaves
*You’ll notice that I don’t often provide measurements for seasoning. Honestly, I never measure my seasoning and just add as much as I feel like that day!
Slow Cooker Instructions
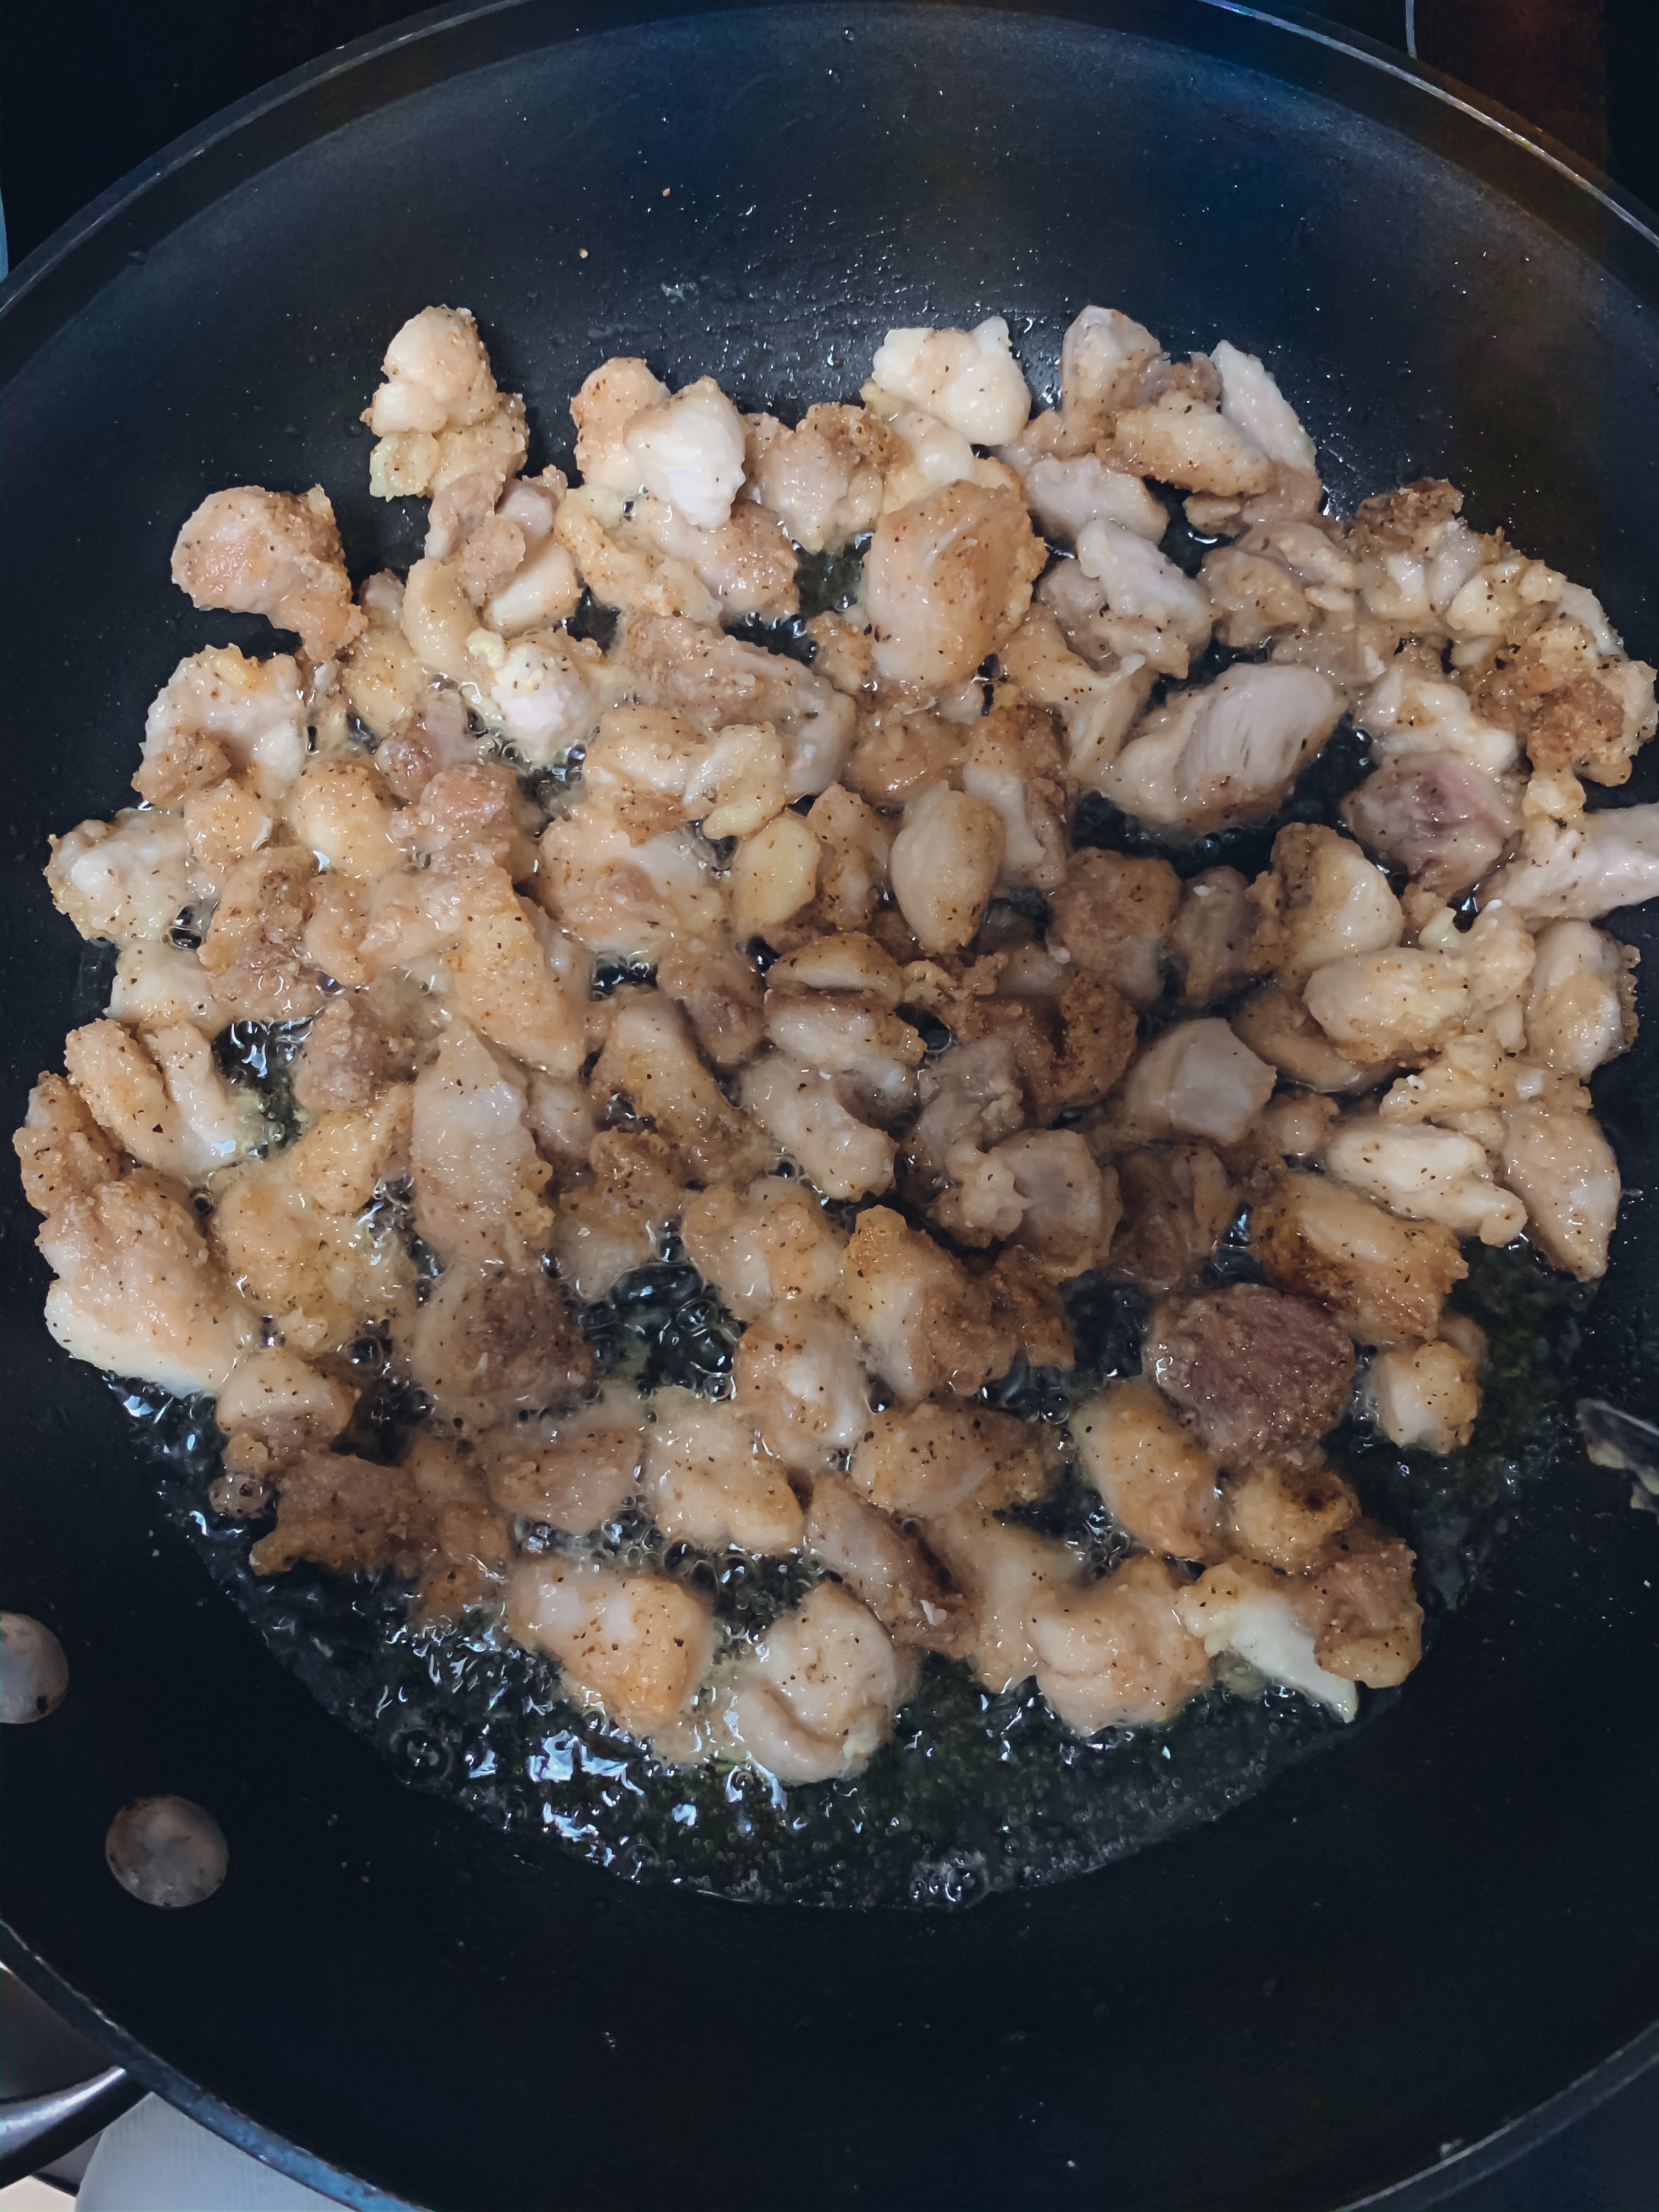
- Heat oil in pan over medium high heat
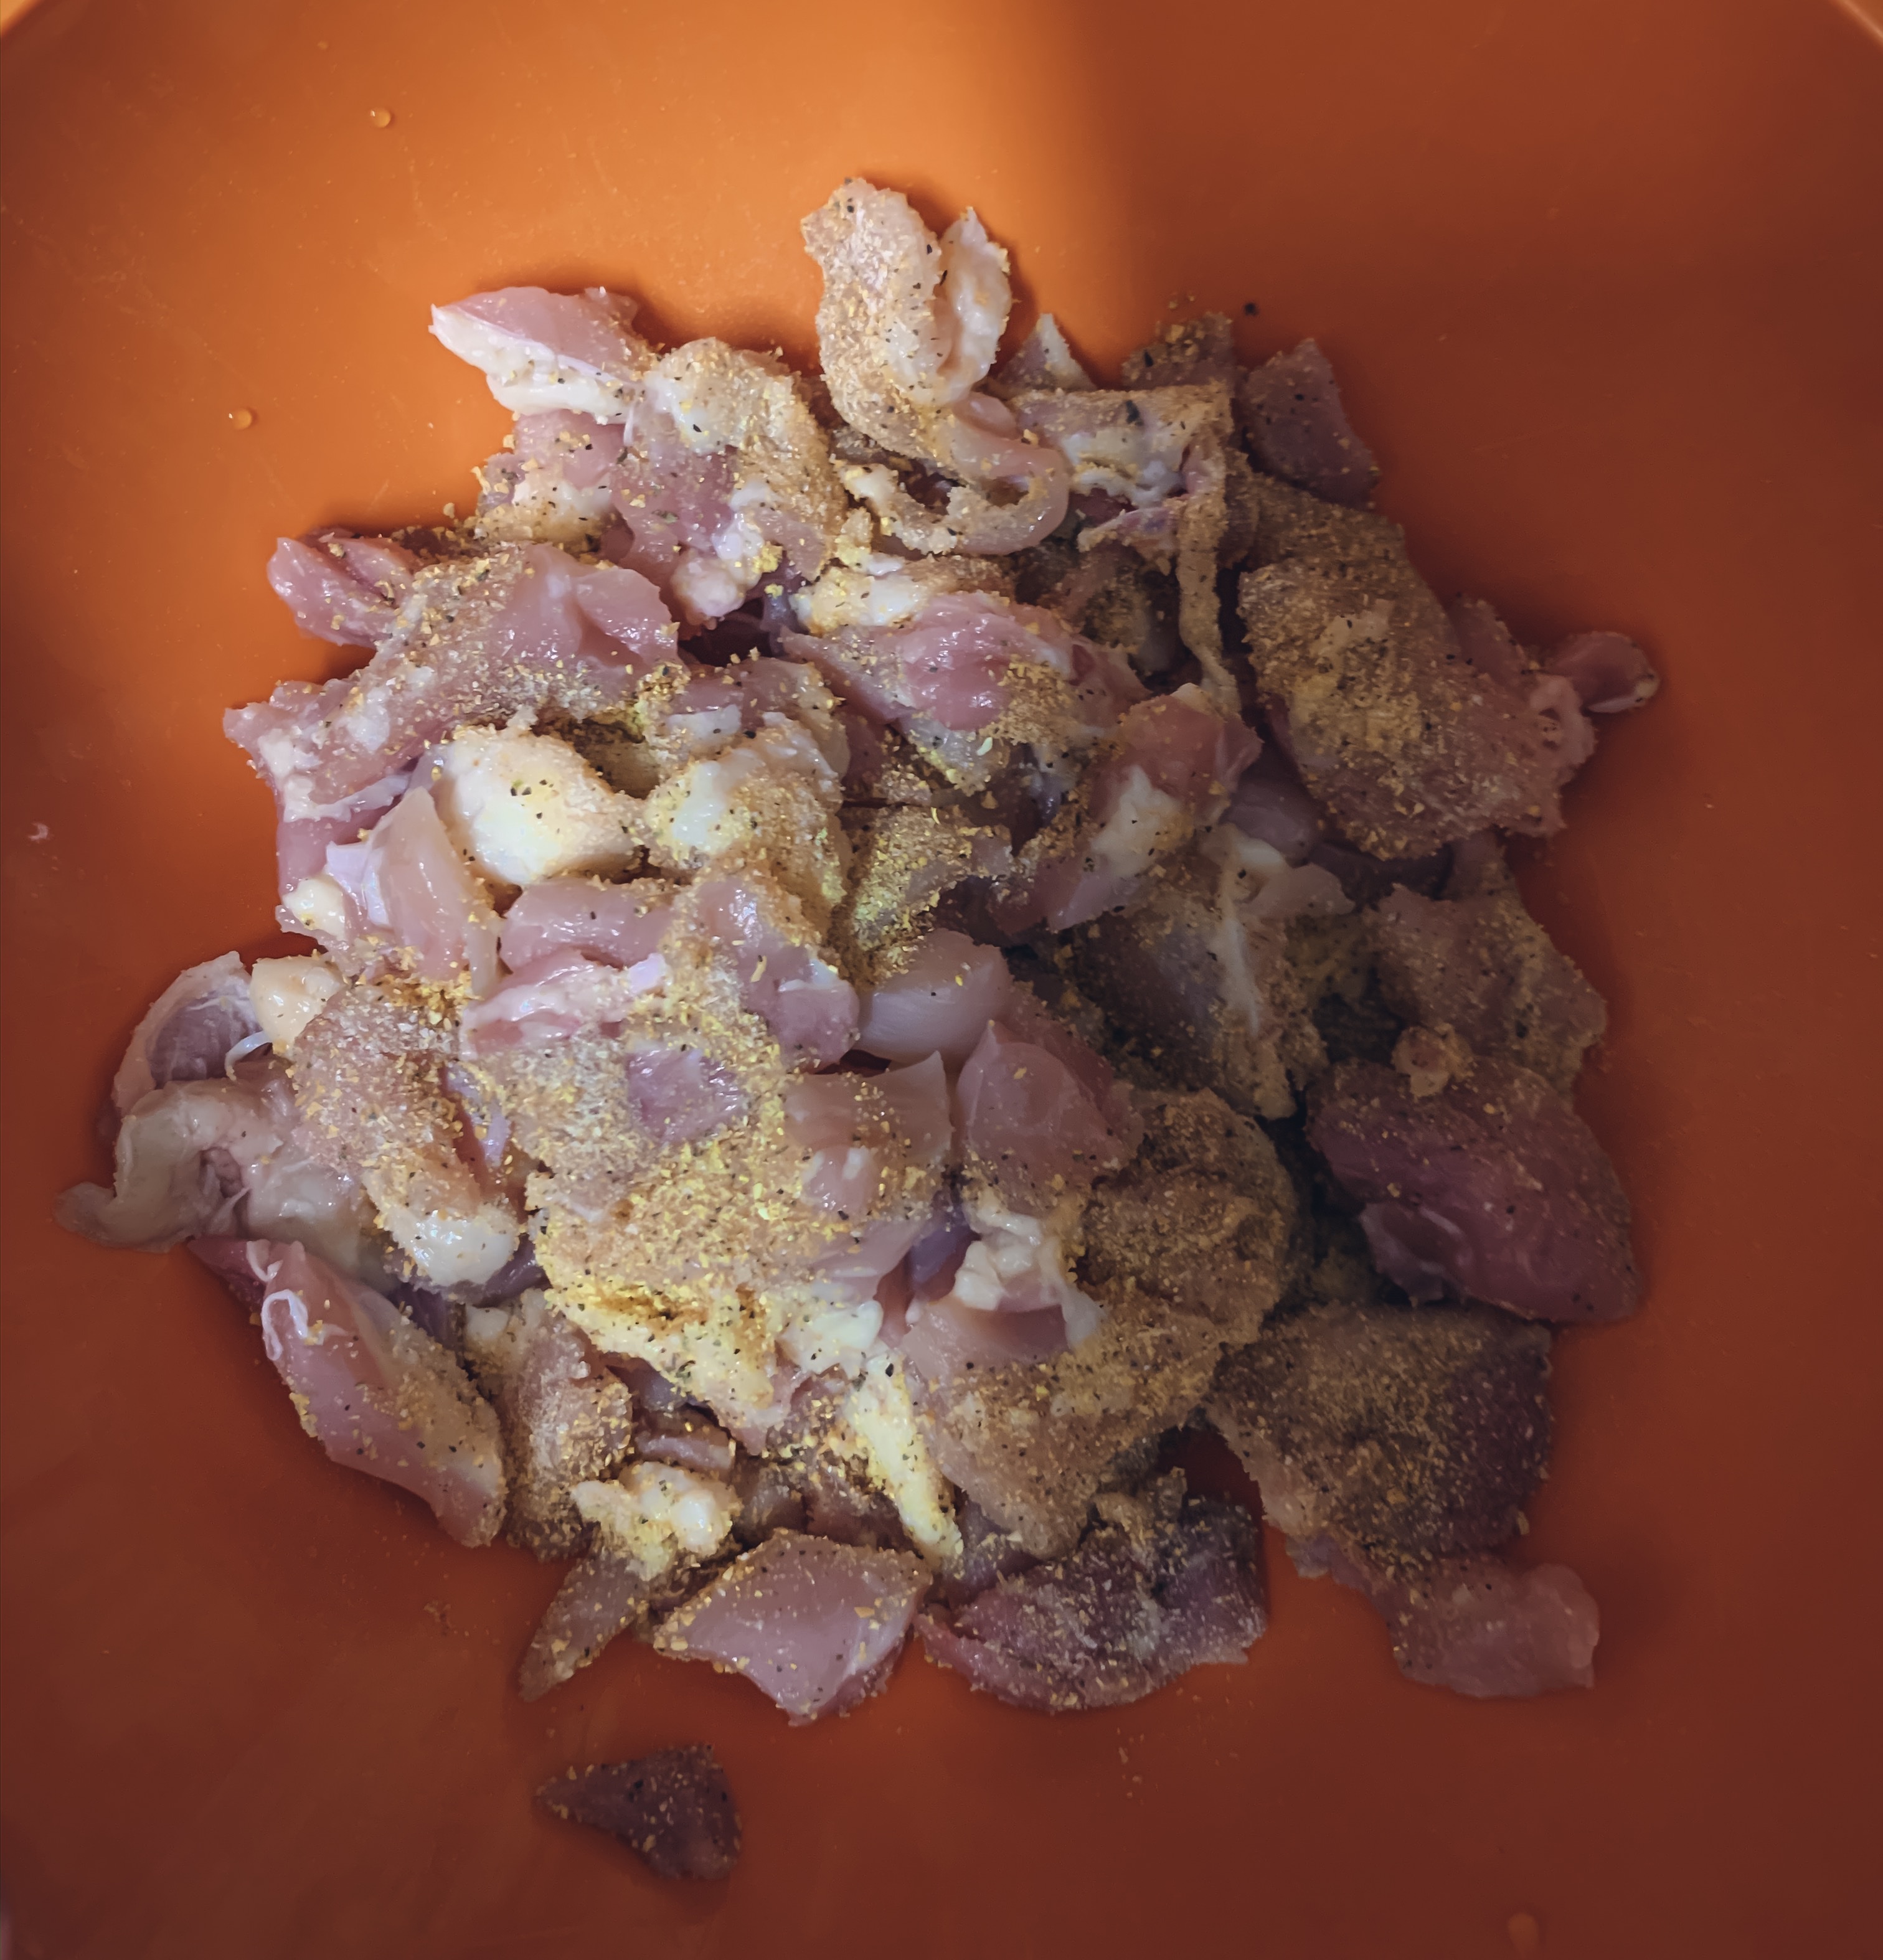
- Season oxtails with salt, pepper, and cumin
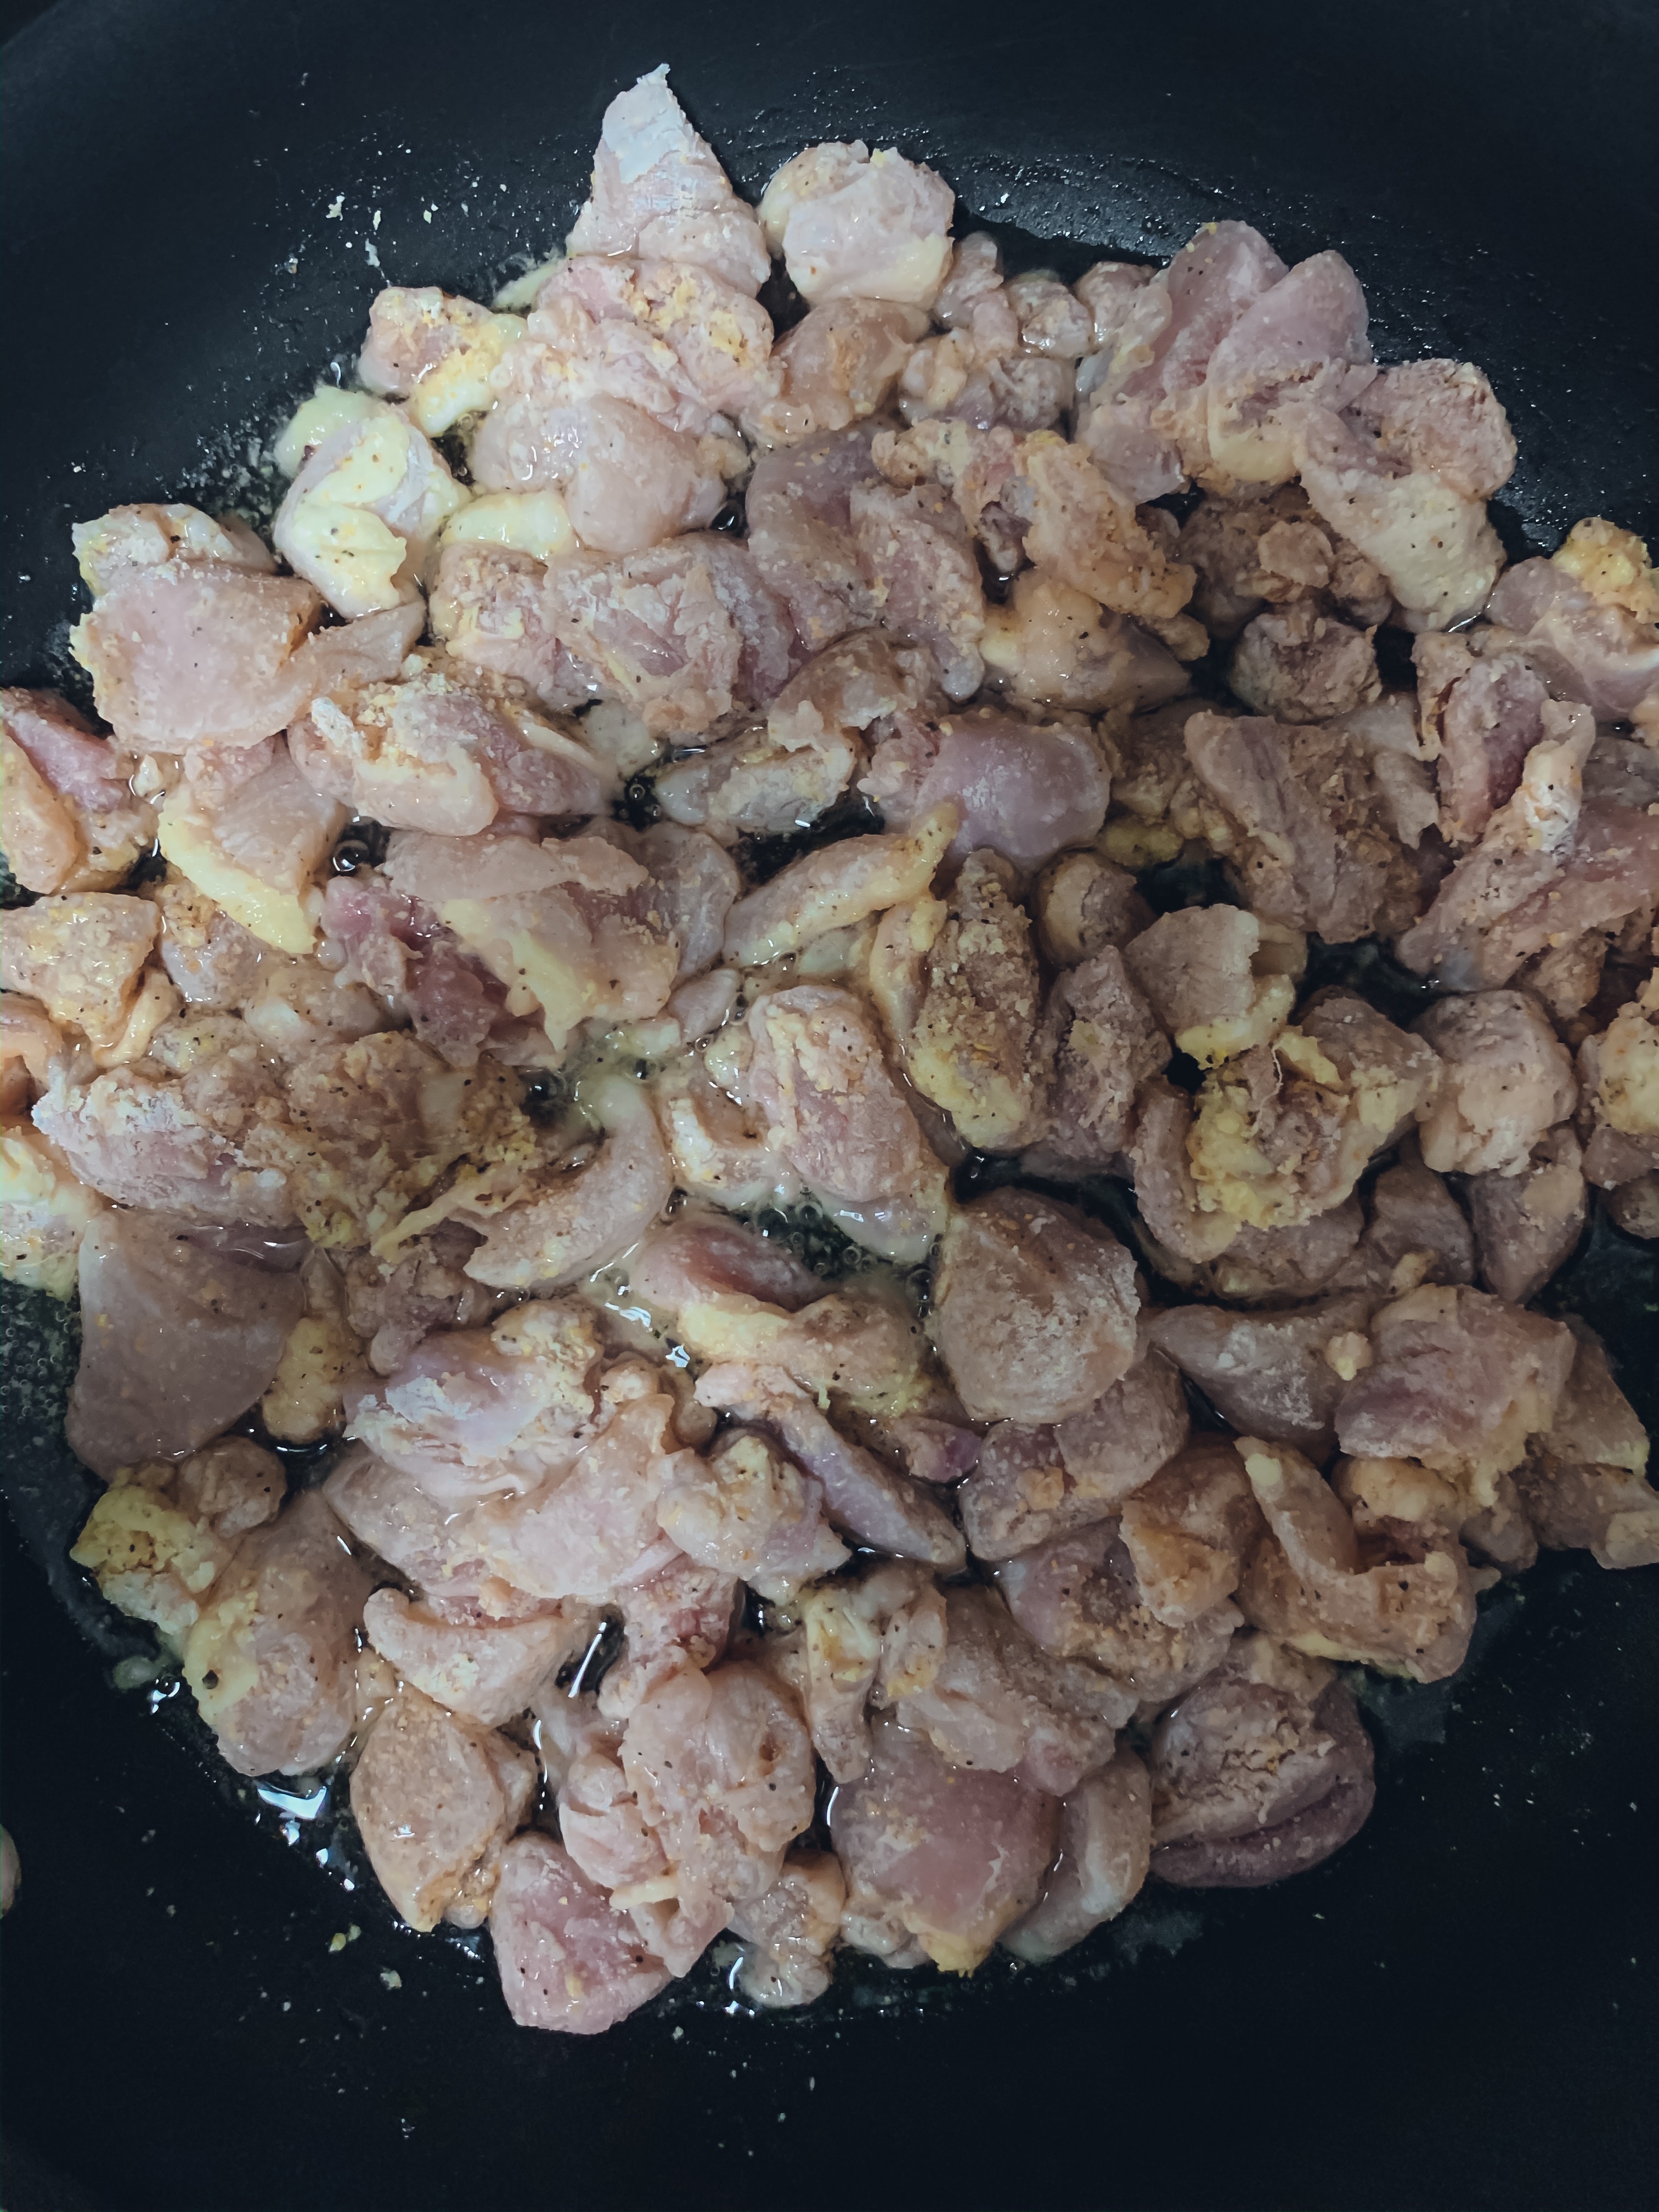
- Cook oxtails on each side so just the outsides are seared and place in slow cooker
- Add remaining ingredients to slow cooker
- Cook on low for 6-8 hours.
Instant Pot Instructions
- Season oxtails with salt, pepper, and cumin
- Use the sauté feature to sear outsides of oxtails, you will have to do these in batches. Place oxtails on plate while searing
- Sauté peppers, onions and garlic for a few minutes
- Place instant pot on pressure cook and add oxtails back to instant pot.
- Add remaining ingredients to pot
- Close and seal instant pot, set to cook on high for 50 minutes
- When complete allow instant pot to do a natural release
Note about slow cooker: In the pictures shown, these were the ox tails I cooked in the slow cooker, which was too small for all I was cooking, but I made it work. The ox tails towards the top were not submerged in any cooking liquid which made these tails not as tender as those that were. I cooked the tails for 6.5 hours and let them keep warm in cooking liquid until we were ready to serve, about 1.5 hours later, and it helped!